Build a DIY Cold Frame Greenhouse to Extend Your Growing Season
Building your own cold frame greenhouse is not complicated – and once done, it means an early start to the gardening season.
15.08.2025

What a cold frame GREENHOUSE can do
A cold frame greenhouse will help you get things off to an earlier start in your garden. You can start planting as early as February and enjoy an earlier harvest as a result. If you use this DIY box to propagate seedlings, you will soon have hardy young plants ready for planting out in the garden.
This wooden structure is essentially a mini-greenhouse, and it uses the same principle as its bigger siblings: a microclimate is created inside the frame because the sun’s short-wave rays enter through the translucent panes, warming the interior, while the long-wave heat rays cannot escape. This process warms the soil within, creating ideal conditions for plant growth, even early in the year.
A smaller version of the same thing, a wooden frame box can be built either as a cover for a raised bed or simply as a unit that you place on the ground. A DIY cold frame is the perfect solution for avid gardeners who would prefer to start gardening in February.
Build your own cold frame: all you need to know
So you’ve decided to build your own cold frame? Great! Before we get into the detailed information, here are some things it’s worth knowing in advance.

What types of cold frames are there?
There are two basic types of cold frame: the fixed-position mini-greenhouse, which is designed as a standalone unit and stands directly on the soil, and a removable cover that can be used on an existing raised bed . As both types are easy to build yourself, we have included instructions for making both. Incidentally, using a cover on your raised bed will allow you to begin planting your raised bed much earlier.
What is the best site for a cold frame GREENHOUSE?
A sunny location is best for a cold frame. It’s important that the angled roof structure of your mini greenhouse is oriented in the right direction: the lower end should face southward to ensure that the sun’s rays are trapped as efficiently as possible. Our instructions tell you how to make a wooden structure that can be set up against the wall of a house, positioned in the garden as a free-standing structure or placed on a raised bed.
How do you prepare the soil for a cold frame?
Once you have selected a site, mark the outline of your bed with a spade and dig out soil to a depth of about 40 centimetres. Ideally, you should add about 20 centimetres of horse manure to the hole and then another 20 centimetres of compost mixed with garden soil. The horse manure helps to warm up the soil, as it gives off heat when decomposing.
Incidentally, you should replenish the horse manure every year, as it decomposes entirely over time. If you do not have any manure available, you can use a mix of half-ready compost, leaves and straw. Alternatively, simply dig out 20 centimetres of earth and fill the hole with mixed garden soil and compost.
If you want to find out how to make your own humus, check out our article on composting.
STIHL pro tip: If you decide to build your own garden cold frame greenhouse, you should think about how to protect it against unwelcome guests. We recommend preparing the ground with aviary wire – there are further details on exactly what to do in our instructions below. Installing this protective mesh keeps mice and other hungry garden residents away from your bed and stops them nibbling on your seedlings.

DIY cold frame: preparation
The wood you use to make your wooden greenhouse should be weatherproof and must not rot quickly on coming into contact with the soil. We recommend sawn Douglas fir or larch. Our DIY frame measures 150 x 70 cm and has a window made from twinwall polycarbonate sheets, which is secured with hinges to the higher side of the structure.
UV-resistant, tear-proof PE films are suitable for wooden cold frames and can be purchased as greenhouse films. It is important that the film does not quickly tear and need replacing. Twinwall polycarbonate sheets are also a good alternative.
Though glass is suitable for a cold frame, glass makes heavy windows, meaning ventilation is more difficult. Twinwall polycarbonate, Plexiglass panes or tear-proof translucent films are more suitable than glass for this reason.
Materials and tools
Before you get to work, here is a list of everything you will need to build your own cold frame greenhouse:

For the box:
Planks (12 m of 10 x 1.8 cm, ideally in 3 planks measuring 4 m or 4 planks measuring 3 m)
Square timber (1.2 m of 3 x 3 cm)
For the window frame:
Roof battens (5 m of 24 x 48 mm)
Model construction slats (510 mm of 4 x 1 cm)
Battens to support the window (approx. 10 cm)
For the windows:
Twinwall polycarbonate sheet (150 x 70 cm, 4.5 mm thick)
Screws:
Wood screws for side boards and roof frame (3.5 mm x 50 mm)
Wood screws for model construction slats and twinwall polycarbonate sheet (2.5 x 20 mm)
Fittings and sundries:
3 x stainless steel hinges, 30 x 40 cm
4 x angle brackets
2 x lengths of ball chain
1 handle
2 x hook and eye latches
Garden pruner, e.g. STIHL GTA 26
Cordless screwdriver
Spade
Stapler
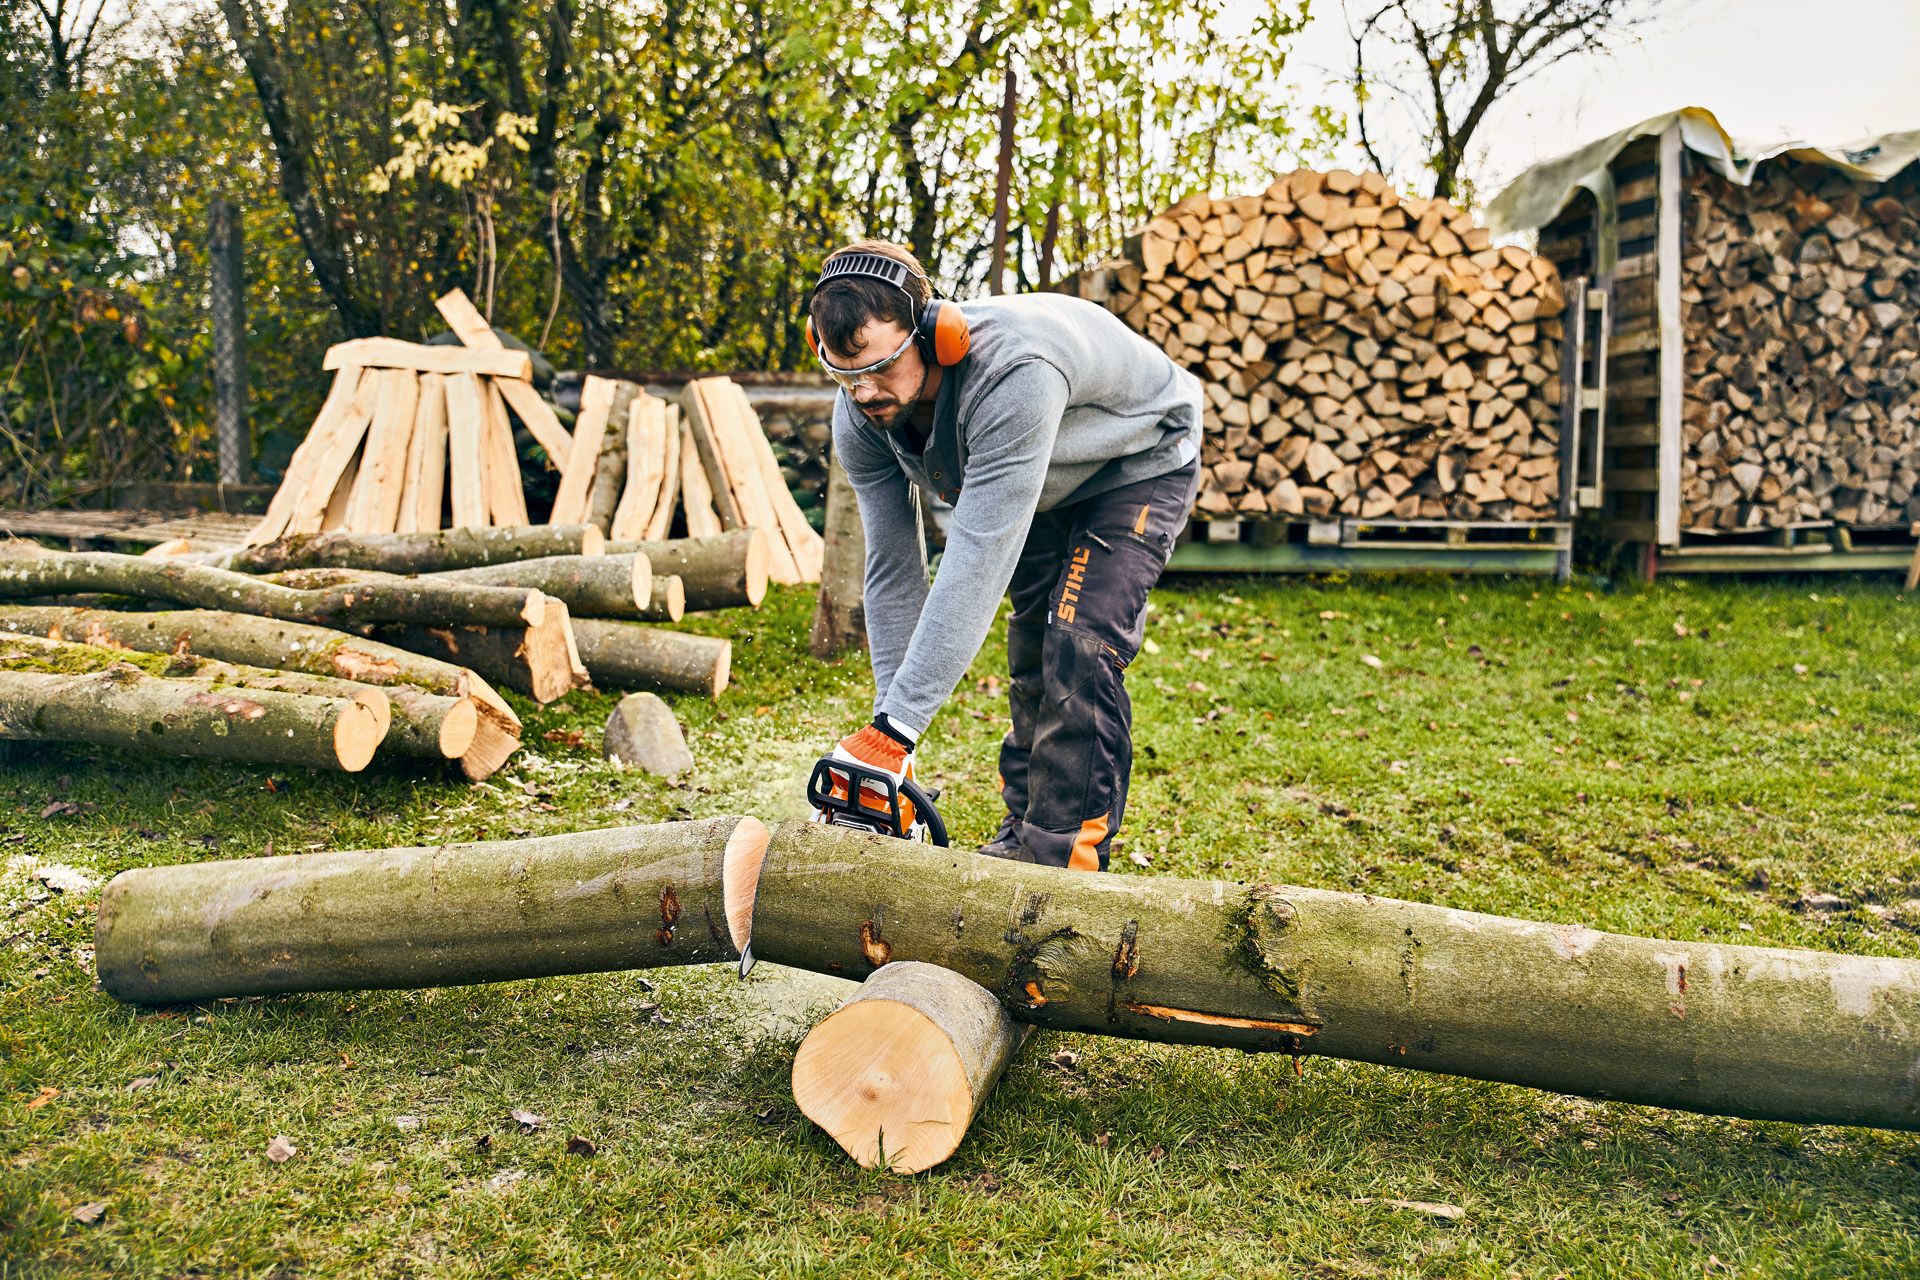
Working with high-performance power tools is fun and allows you to broaden your skills, which is great if you can rely on effective and safe protective clothing. Always wear personal protective equipment when working with garden pruners. This includes, for example, safety glasses, gloves and more. Find out more in the owners manuals for your product. Before using your power tool for the first time, fully familiarise yourself with it and ensure that it is in flawless condition before each use. On request, your STIHL dealer will be happy to prepare your power tool for its first job, and will also advise you on models and sizes of protective clothing that you can try on at your leisure. Please remember that personal protective equipment is no substitute for working safely.
Well-equipped for your project

DIY cold frame: instructions
Have the paragraphs above prepared you for making your own cold frame greenhouse and have you gathered all the materials you require? Then all you need to complete your project are the instructions below. Happy pottering!
STIHL pro tip: Always pre-drill the drill holes before securing the screws. Otherwise, there is a risk that the planks for your wooden cold frame may split.
In order to make your 150 x 70 cm cold frame, you first need to cut the boards for the box to the correct size. You can use a garden pruner such as the STIHL GTA 26 to do this.
Saw the 10-centimetre-wide planks into ten pieces: cut five of them to 150 cm in length and the other five to 70 cm. You will use the longer planks later on to make the front and back, while the shorter planks will be used for the sides.

Now take one of the shorter planks (70 cm long) and draw a line from the upper right-hand corner to the lower left-hand corner. Then cut the plank in two along the line. You now have two triangular side pieces that will define the angle of the supporting surface for the window.

Now cut the square timber pieces to the correct size. Cut 2 pieces to a length of 25 centimetres and 2 to a length of 35 centimetres.

Now attach one of the shorter pieces of square timber to each end of the front plank. Add a further front plank directly above it (ensuring it is flush with the first plank). Make sure that the square timber pieces protrude around 5 centimetres underneath (this will be the bottom of the cold frame).
Then take the two longer square timber pieces and secure them to the ends of one of the rear planks. Add 2 further rear planks directly above (each flush with the plank below). You have now finished the front and back of your DIY cold frame.

To make the sides, secure the shorter of the 10 x 1.8 cm planks to the pieces of square timber (to which you previously screwed the longer planks). To do this, mount two planks at the same height as the front planks and then affix the triangular plank at the top. You must screw the short side of this plank to the side planks from above (don’t forget to pre-drill the holes!).

Now staple gridded aviary wire to the lowest boards of the frame described above, to cover the entire base of your bed. The lattice should not be stretched taut, running horizontally between the boards, but should sag about 10 to 15 centimetres below the wooden structure. To do this, cut the rectangular piece of aviary wire 10 cm wider than the edges and make a bulge in it so that it sags towards the centre (N.B. wear gloves!).
The box for your DIY cold frame is now complete. Next you will add a window made from twinwall polycarbonate, i.e. sturdy, translucent, weatherproof plastic sheeting to the frame.

For the window frame, you will first need to make a support frame from roof battens. Cut two battens to a length of 150 cm and two more to a length of 70 cm.
Screw these four planks together using the shorter screws and the angle brackets. Place the twinwall sheet on top.

To finish the window frame, you should now cut the model construction slats to size. You will need 2 x 150-centimetre-long slats and 4 x 70-centimetre-long slats.
Now, place 1 x 150-centimetre and 2 x 70-centimetre slats along the 3 edges of the twinwall polycarbonate sheet. Secure the slats to the twin wall sheet and the lower roof battens of the supporting frame from above using the 2.5 x 20 mm screws. Make sure that the 3 slats protrude at least one slat width beyond the twinwall sheet. Screw the remaining 3 slats on underneath from above as a further support.
Note: The slats are only attached behind and on the sides of the window. This allows any rainwater that may fall on the cold frame to run off.

Attach the 3 hinges for the folding mechanism to the window and the top of the wooden cold frame box. Attach the handle for opening the flap on the opposite side of the window frame, and install hook-and-eye latches for closing the window securely. You should then attach the ball chains to secure the window when it is open.
You can now prepare a 10-centimetre-long piece of square timber to prop the window open when you want to.
Finished! Your DIY cold frame greenhouse is ready – now all you need to do is set it up and fill it.

Setting up your cold frame
Last but not least, you will need to set up your cold frame greenhouse in the location you have already prepared with manure, compost and garden soil. Then fill the structure from the top with topsoil, ensuring that the aviary wire you previously stapled on is well-covered all over with at least 20 cm of soil.
That’s it! Your DIY mini garden greenhouse is now finished. Sunny and easily accessible, lettuce, vegetables and propagated plants will soon thrive in it.
STIHL pro tip: If you want to protect your seedlings from snails, there is a mechanical trick you can use. Securing a band of copper around your cold frame will prevent snails from creeping up and into the bed. The copper band acts as a barrier, because snails avoid copper on account of a chemical reaction that occurs when a snail’s underside comes into contact with the metal. To ensure that not even the most resourceful snails manage to cross the copper band, we recommend attaching a wider copper band or two bands beside one another.

Instructions: Building a cold frame cover for a raised bed
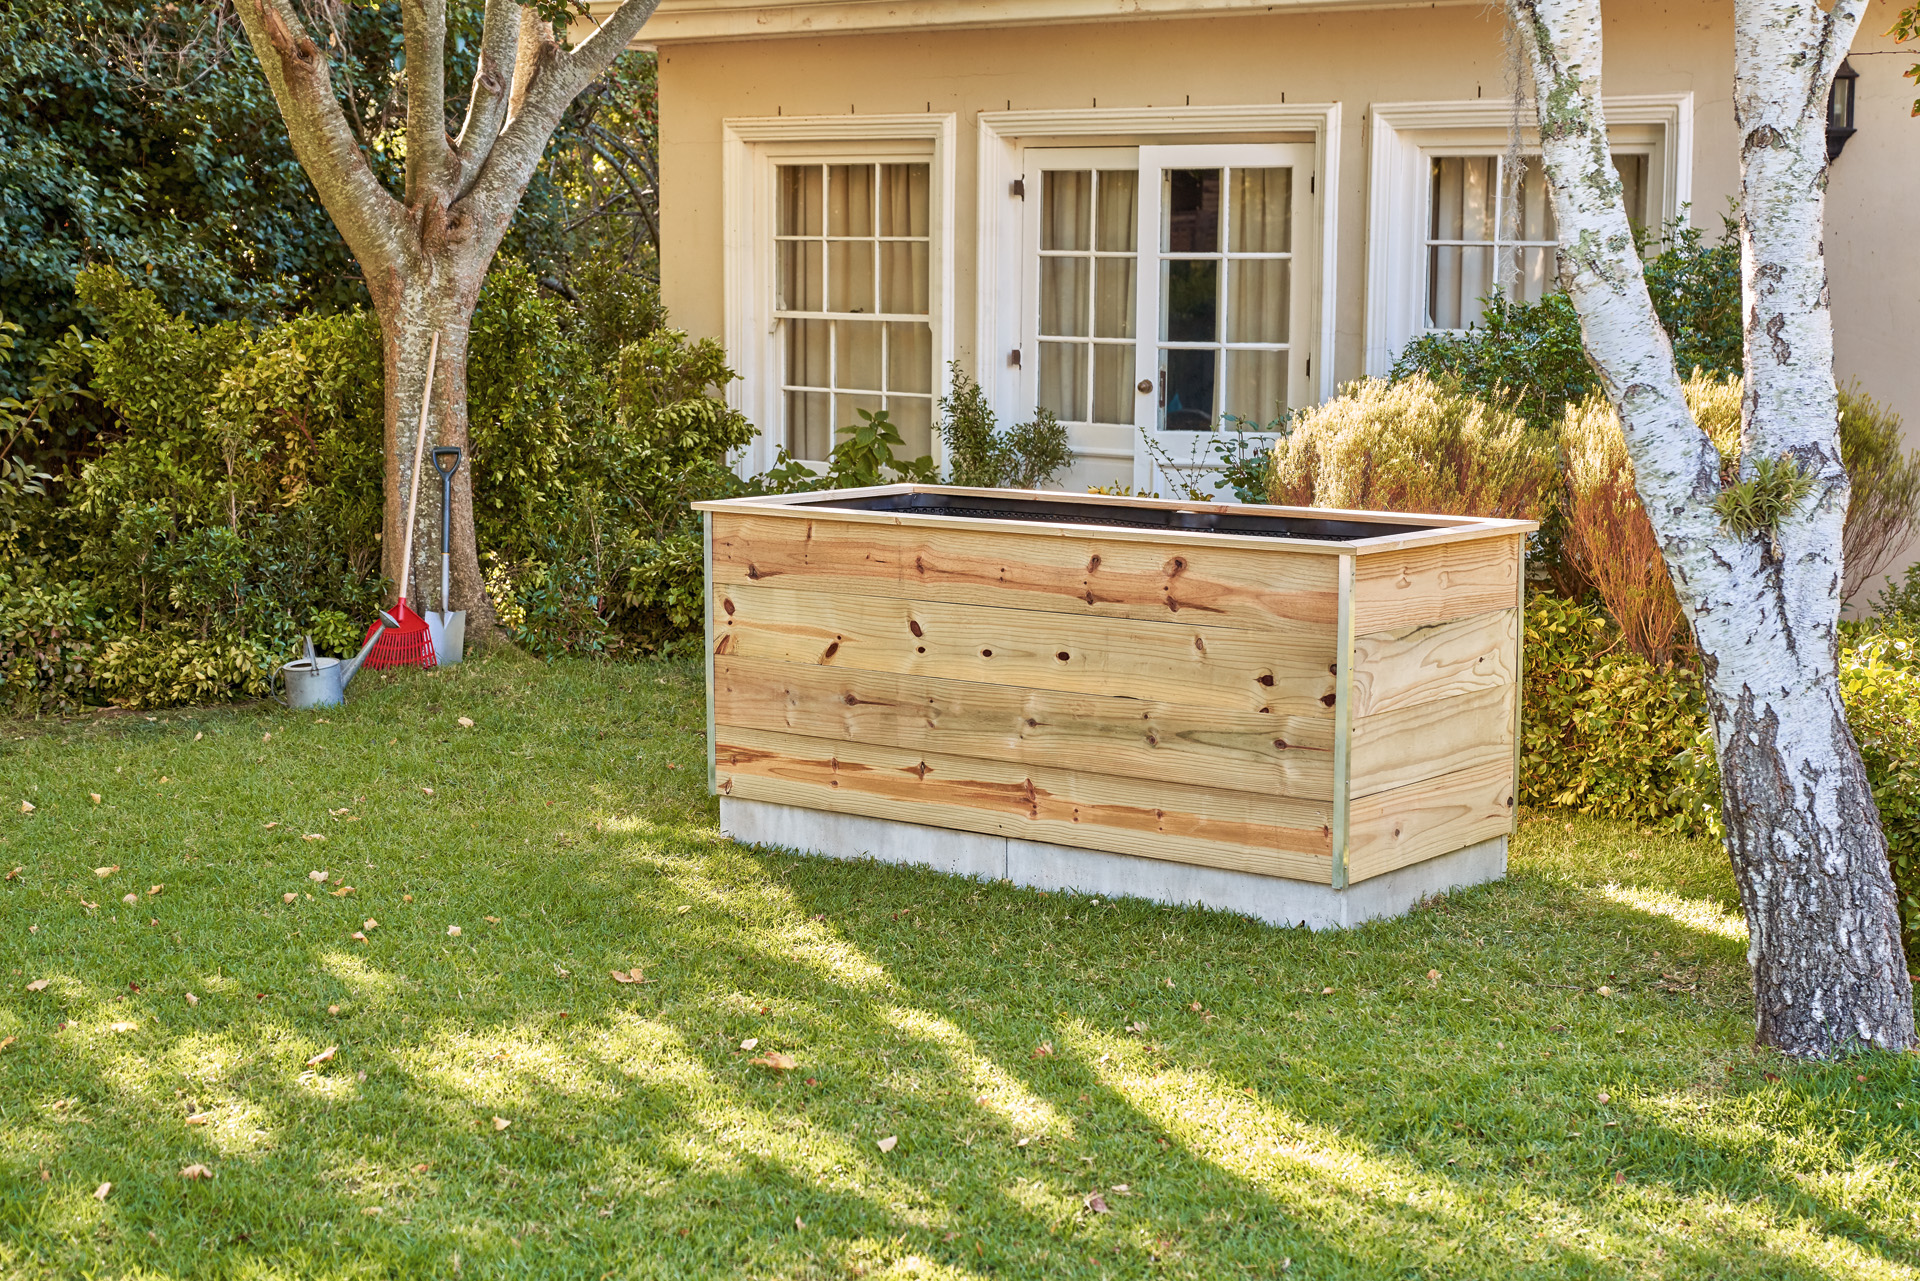
Cold frames can also be made in the form of a cover for a raised bed . The benefit: the cover will ensure you can start using your raised bed earlier in the season. Use the instructions above, adapting the dimensions exactly to your raised bed. We recommend using 9 mm grooved wood instead of Douglas fir or larch for the raised bed cover to ensure that it is not too heavy. You should also note the following additional steps:
Attaching handles to the cold frame cover
Attach handles to the side planks of your wooden cover – this will make it easier to place on and remove from the raised bed later on. Simple metal handles from a hardware store are ideal.
Securing the cold frame cover on the raised bed
Ideally, you should secure 4 square timber pieces underneath the cover, fitting them into the corners of your raised bed. These pieces of square timber should be set around 10 cm deep into the soil of your raised bed and are used to stabilise the cover. Alternatively you can screw the cover to the raised bed using small pieces of metal trim that can be removed again when you want to remove the cover from the raised bed. Whichever system you use to secure the cover, you should always ensure that the wooden cover is flush with the raised bed.
Planting a cold frame GREENHOUSE
If you’re going to build your own cold frame, you will undoubtedly want to plant it yourself as well. The good news is that you can use this mini greenhouse almost all year round. There is no strict crop rotation as with a vegetable patch.
You can take the time when the first weeds germinate in the bed as a guide for when to sow your first plants. Hardier varieties such as lettuce, radishes and early carrots are suitable for planting at the start of the season, in February or March, and can be harvested as early as April. From the end of March you can start off tomatoes, peppers and cucumbers, which you can then transfer to a bed in the garden or to the greenhouse from the end of May once they have hardened off sufficiently. From May, you can add bush tomatoes to your cold frame, leaving them there until you harvest them. By the way, the window of this wooden structure can be left open all the time from at least June onwards. This will ensure the tomatoes have sufficient space to grow upwards. Spinach also thrives in these conditions and can be harvested directly. Heat-loving plants, such as peppers will also thrive in this mini greehouse in the summer.
If you would like to find out more about planting beds, our article on planting beds offers a more detailed overview.

Other tips for your cold frame
Garden cold frames are usually easy to manage. It is important to ensure that the interior temperature is neither too hot nor too cold. The following tips will help you to harvest and grow plants even more successfully in your mini-greenhouse.
Ventilate regularly
Ventilate your cold frame regularly to ensure that heat does not build up in it. You should do this daily for longer periods except in frost. A wooden slat will help keep the window open while ventilating it. Caution: Don’t forget to close the window after ventilation!
Cover in frosty weather
Your cold frame will need a little help in severe frosts to ensure that its inhabitants are not damaged. Rush mats can be used for insulation, and polystyrene foam will also keep out the cold air. Simply place your rush mats or polystyrene foam on the window and weight it down so it does not blow away.
Cold frame for tortoises
Cold frames are not only suitable for growing vegetables, but also as a safe summer haven for tortoises, protecting them against predators such as martens and birds of prey. You can simply place the structure on a meadow, saw a small “door” into one of the sides and voilà – your tortoise has its own “house with a park”.
As with plants, good ventilation is important to ensure that your tortoise does not overheat. Give your tortoise a little joy – start making a cold frame for it today.
Summary: DIY cold frame GREENHOUSE
Cold frames allow you to start the gardening season earlier and extend it so that you can start growing vegetables in winter and continue harvesting until autumn.
A sunny, south-facing location is particularly suitable for these types of greenhouses
Raised beds can also be repurposed as cold frames by adding a cover.
If you spread manure underneath the structure, the decomposition process generates an additional, natural source of heat underneath the bed.
If making this DIY wooden structure, you will need to use weatherproof materials to ensure that you can continue to enjoy your mini-greenhouse for a long time to come.
Regular ventilation is important to ensure that the plants in the bed do not overheat or become exposed to excessively cold temperatures.
Cold frames are also suitable for use as tortoise “havens”.
You can plant seedlings for growing on in a cold frame, such as herbs and vegetables for example. Tomatoes, peppers, cucumbers, radishes, lettuces and carrots will also thrive in it. These can be planted earlier in a cold frame and harvested earlier as a result.
We recommend ventilating your cold frame regularly. As soon as the sun is shining, you can ventilate the bed in the afternoon – you should then close the lid again. This will ensure that the heat stored is not lost and the plants inside will not be damaged if external temperatures fall too low.
