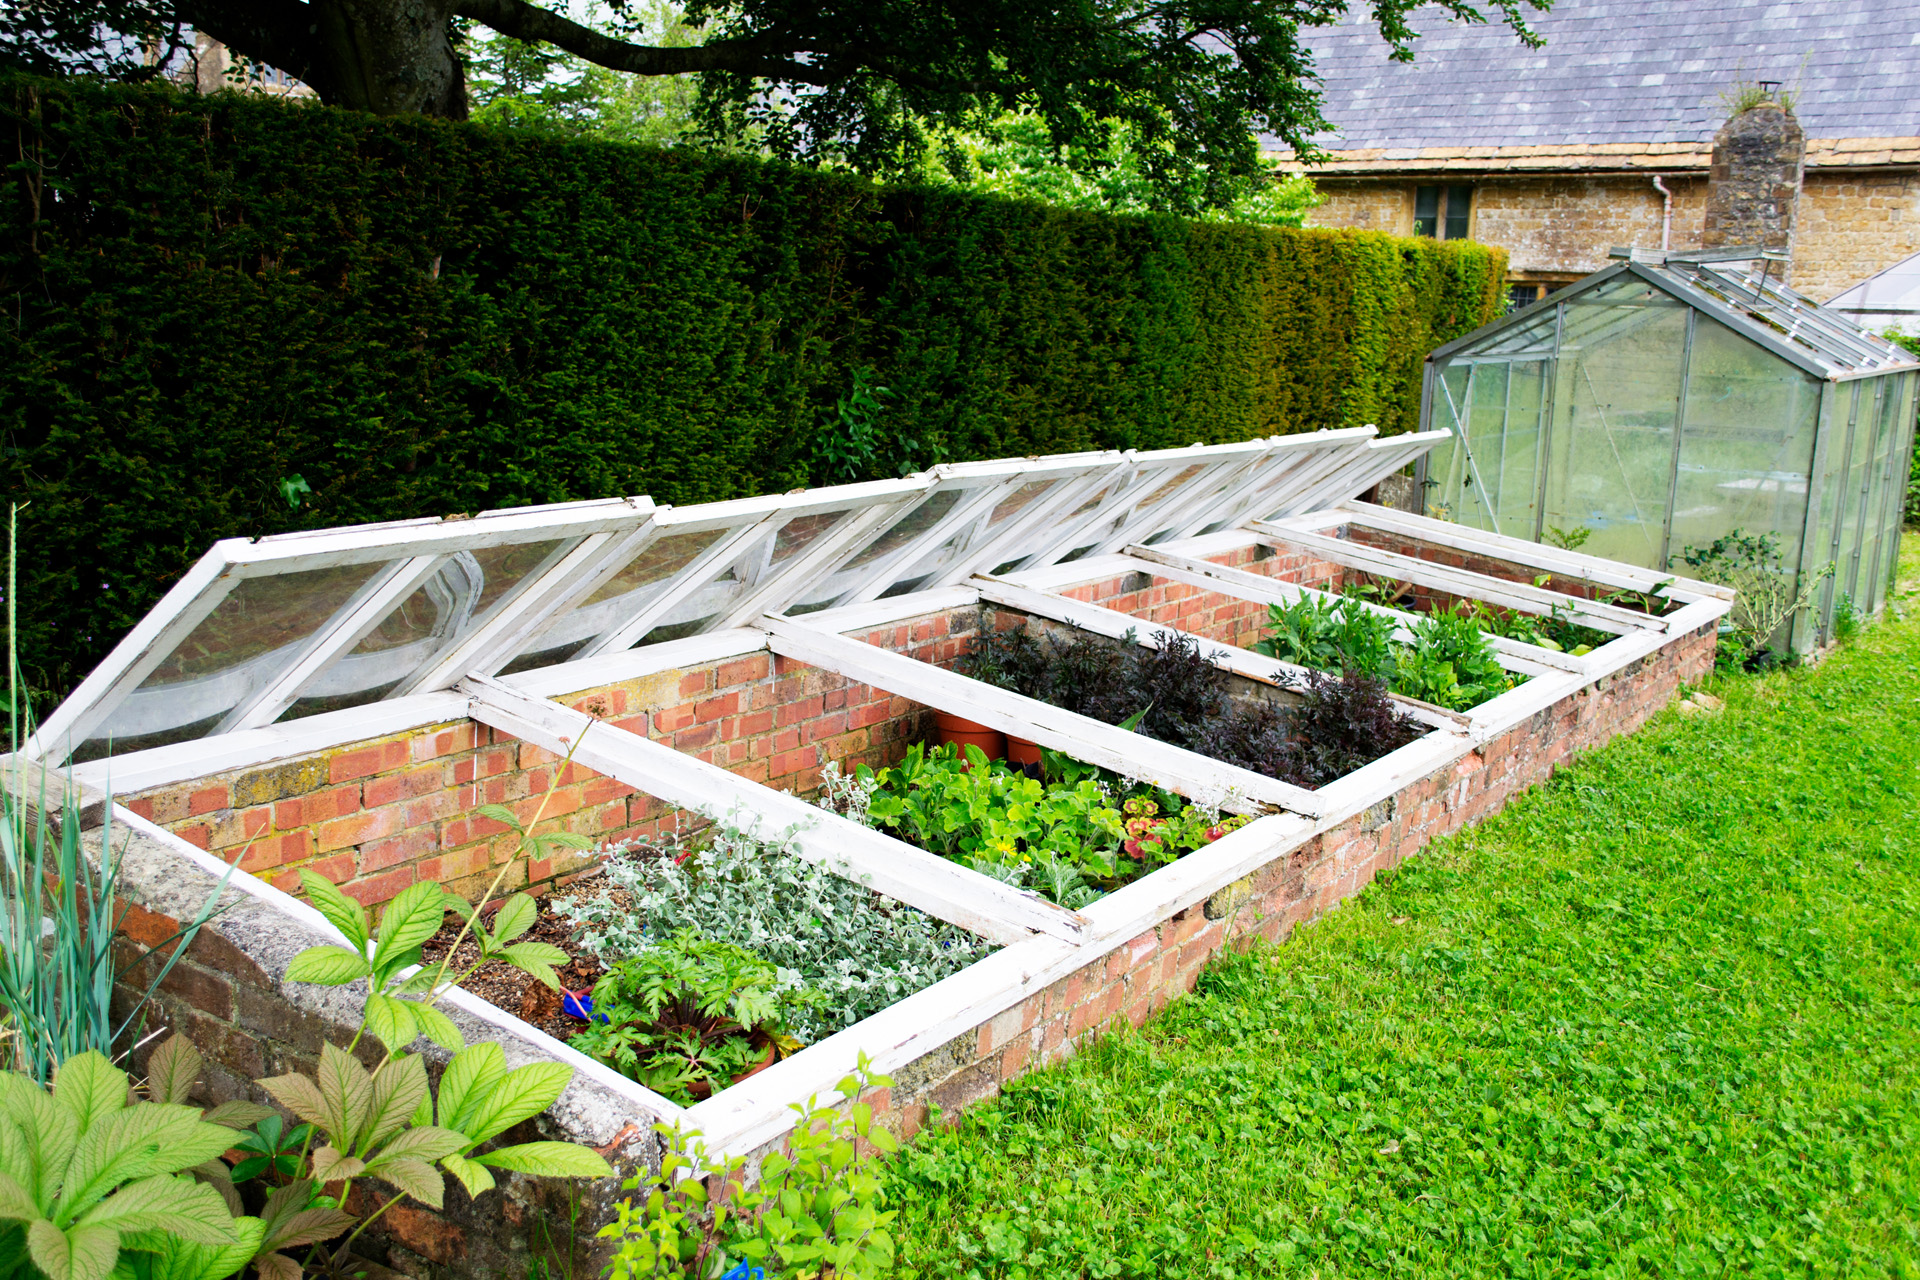
Build a DIY raised bed cover
Building a raised bed cover to protect your plants makes a great DIY project for advanced users – here is how to do it.
24.06.2025
Why make a raised bed cover?
A DIY raised bed cover offers many advantages. As well as protecting plants from wind and precipitation, a raised bed cover is also very useful against birds and snails. A suitable cover enables you to use your raised bed to start seeds early and to grow on young plants. If you want everything to fit together perfectly, we can show you how to build your own raised bed as well as the cover.
What’s more, a self-built cover makes it easy to grow winter vegetables in raised beds for harvesting late in the autumn and winter months – in other words, a DIY roof for your raised bed can even effectively extend the gardening season.
Plexiglass or geotextile?

A plexiglass cover lets light through and keeps warmth in.
There are many materials which can be used for a DIY raised bed cover – for example, polycarbonate twinwall sheets, wood chippings, plastic film or leaves. Below we have listed the advantages of two options, geotextile and plexiglass, for you to compare.
It is most useful to cover a raised bed with geotextile while transitioning between seasons, as this permits a certain amount of air circulation and allows water to pass through.
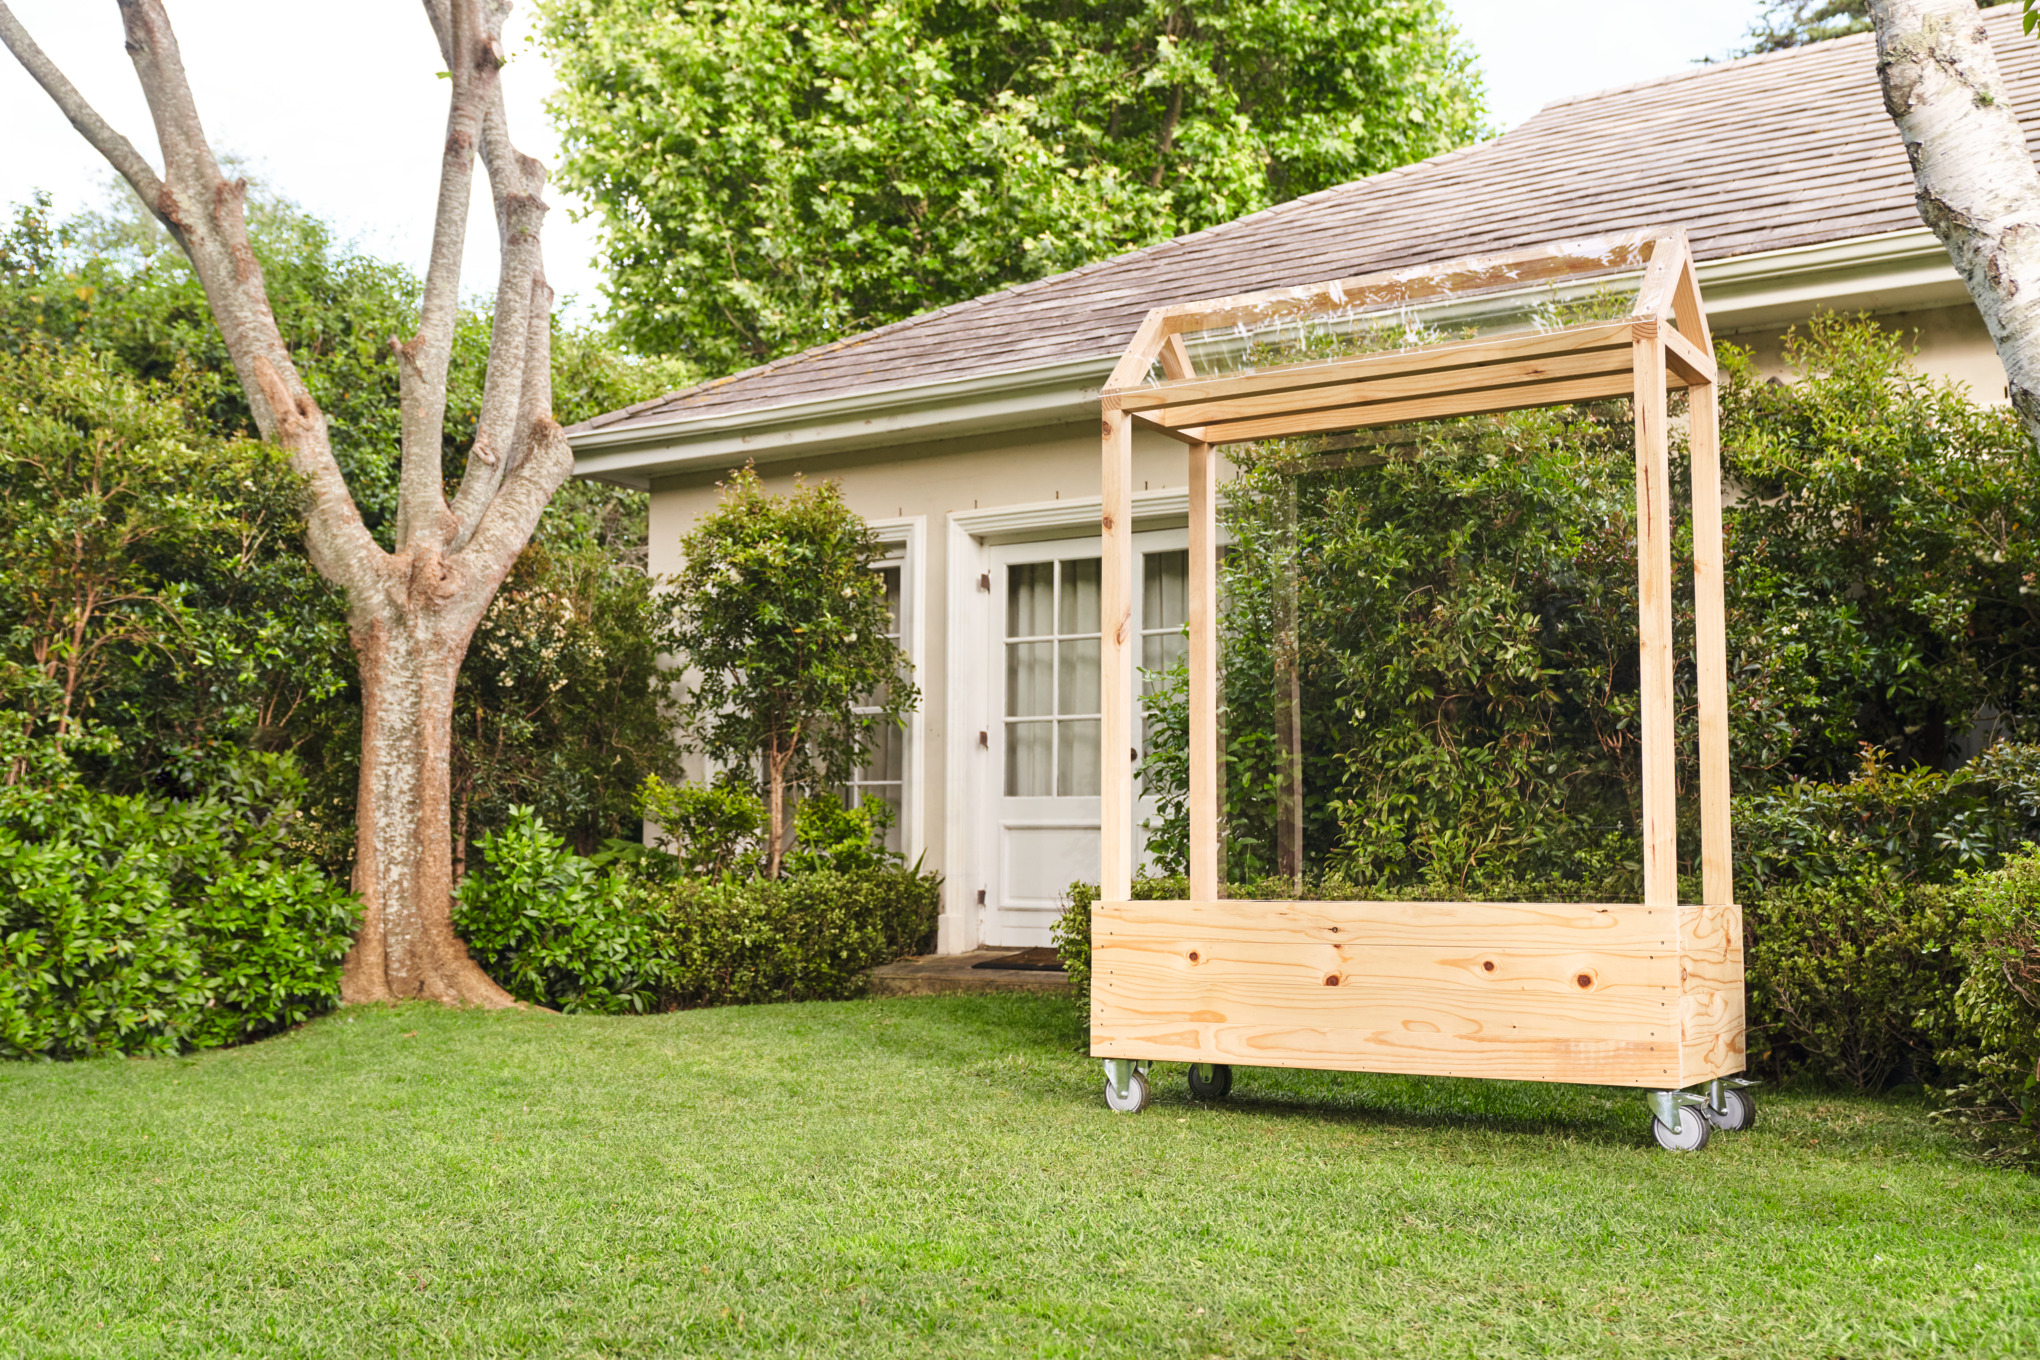
A more resilient option is a DIY raised bed cover made of plexiglass, as it keeps your plants protected from the elements. It also lets sunlight pass through and then keeps warmth in – creating optimal conditions for plant growth. In addition, a self-built raised bed cover can be reused for many years, making it a sustainable upcycling project.
Preparation: build your own raised bed cover
To build a wooden raised bed cover yourself, it’s a good idea to first get the appropriate material and tools ready as well as your personal protective equipment. When choosing wood, it is best to opt for robust, native coniferous woods such as pine, spruce, Douglas fir or larch. We used pine for our raised bed cover.

- Countersunk wood screws:
approx. 100 x size 4.5 mm x 60 mm
approx. 50 x size 4 mm x 40 mm
approx. 50 x size 3.5 mm x 16 mm - Pan head wood screws (domed):
100 x size 3 mm x 16 mm - Wooden slats:
15 pieces measuring 24 mm x 44 mm x 2000 mm
2 pieces measuring 24 mm x 74 mm 2000 mm - Plexiglass sheets:
8 pieces measuring 2 mm x 500 mm x 1000 mm - 1 tin of environmentally friendly weather-proof varnish
- Hinges for the fold-up windows:
8 x size 75 mm x 50 mm, to fit the 24 x 44 mm wooden slats - 4 storm hooks
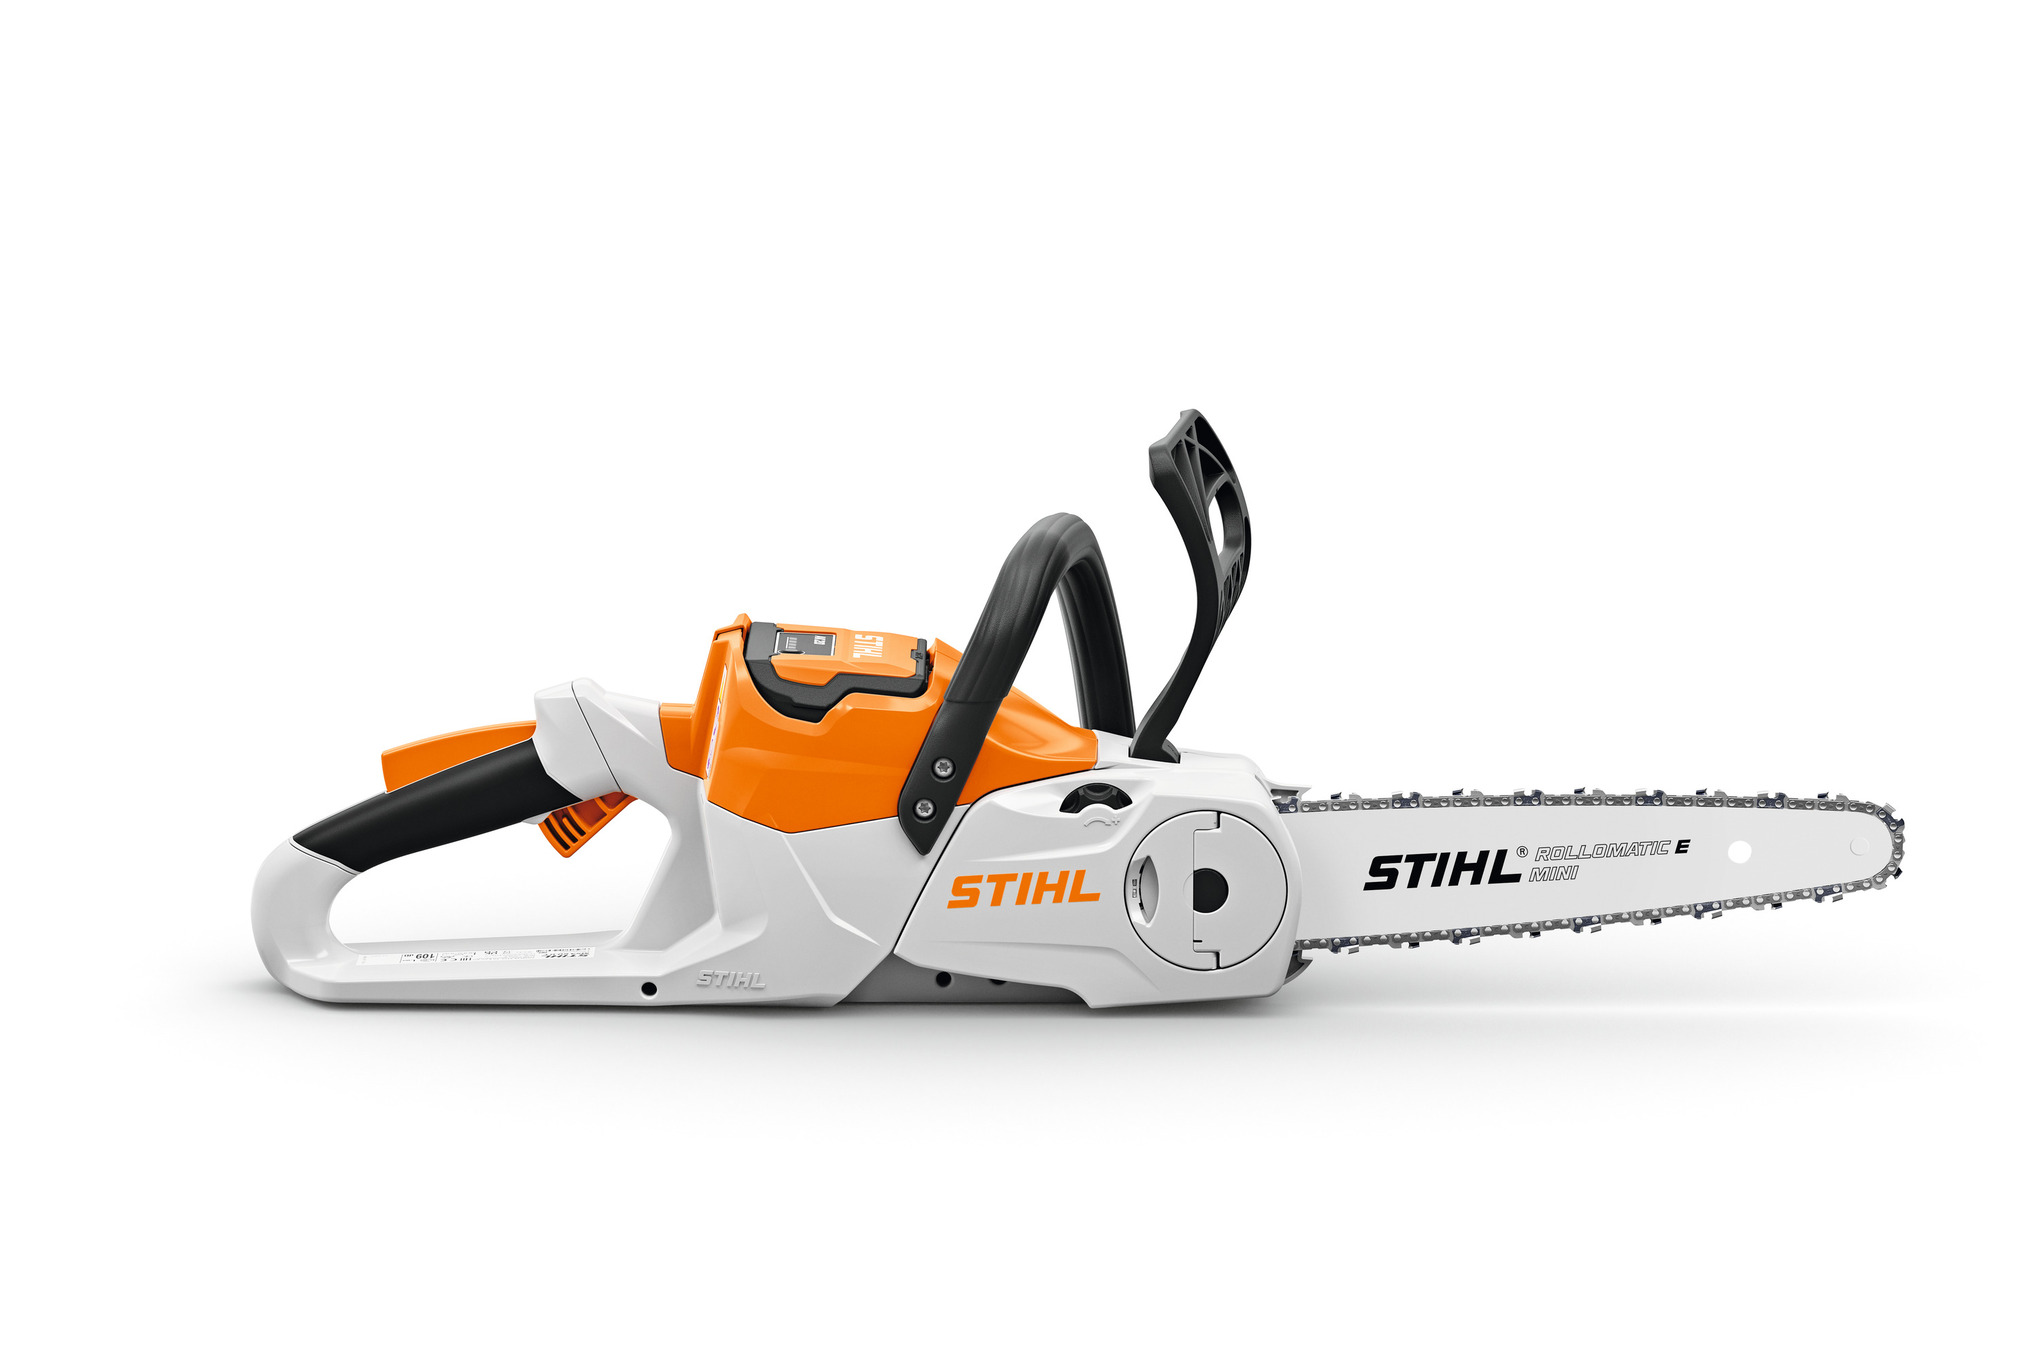
- Cordless chainsaw, e.g. STIHL MSA 70
- Tape measure
- Workbench
- Carpenter’s square or set square
- Pencil
- Fibre-tip pen
- Cordless screwdriver with screwdriver bits
- Metal drill bit, 4 mm for plexiglass
- Wood drill bit, 4.5 mm
- Cordless sander
- 120-grit sanding sheets for cordless sander
- Utility knife
- Paint brush
Working with high-performance power tools is fun and allows you to broaden your skills, which is great if you can rely on effective and safe protective clothing.
Always wear your personal protective equipment when working with STIHL power tools. Find out more in the owners manuals for your product. Before using your power tool for the first time, fully familiarise yourself with it and ensure that it is in flawless condition before each use.
On request, your STIHL dealer will be happy to prepare your power tool for its first job, and will also advise you on models and sizes of protective clothing that you can try on at your leisure. Please remember that personal protective equipment is no substitute for safe working.
Instructions: DIY plexiglass raised bed cover
Want to build your own protective raised bed cover and already have the necessary materials and tools at hand? Now you just need the following building instructions to get started.
First measure your raised bed with a measuring tape, and note down the dimensions. Now, using a set square, transfer the appropriate dimensions to the wooden battens that you will use for your DIY raised bed cover. Our example uses the following dimensions for a raised bed of 2000 x 1000 mm without edging (with edging: 2040 x 1040 mm).
Gable triangles: 2 pieces measuring 24 mm x 44 mm x 705 mm; 2 pieces measuring 24 mm x 44 mm x 685 mm; 2 pieces measuring 24 x 44 x 470 mm; 2 pieces measuring 24 mm x 44 mm x 1000 mm
Lower battens or connections between the two gables: 2 pieces measuring 24 mm x 44 mm x 1912 mm
Roof ridge: 2 pieces measuring 24 mm x 74 mm x 2000 mm
Windows: 12 pieces measuring 24 mm x 44 mm x 700 mm; 6 pieces measuring 24 mm x 44 mm x 1000 mm

For the next step of making your DIY raised bed cover, you will need a cordless chainsaw such as the STIHL MSA 70. Use it to saw all the wooden slats to size according to the markings you made in the first step, applying only slight or no pressure with the chainsaw. This ensures good control for a straight cut.

The central braces of the roof gables – two wooden battens, each measuring 24 x 44 x 470 mm – need to have two 45-degree angles, i.e. each has a pointed end cut at a 90-degree angle. Draw in these angles and then make the diagonal cuts. Once the tips are sawn, cut the central braces to a length of 470 mm. You should also cut 45-degree angles into one end of each window strut, cutting across the width.

Now sand down the rough edges of the battens. You can do this using a cordless sander and 120-grit sandpaper. Next, oil the battens thoroughly all over using an environmentally friendly weather-proof product and leave to dry for around 24 hours. It is best to follow the oil manufacturer’s instructions here.

Assemble the two roof gable ends and fix them together with a cordless screwdriver, to start building the roof for your DIY raised bed cover. It is best to pre-drill the screw connections to prevent the wood from splintering. You should screws measuring 4 x 40 mm for this step.

Now cut the plexiglass sheets to size using a utility knife. As a template for the end panes, the gable itself should be placed on the plexiglass sheet. Cut the plexiglass sheet along the outer edge of the gable; you will need to run the knife along the line several times as the material is hard. Then turn the plexiglass over and cut it at the same places on the back. Leave the protective film on the synthetic glass sheet while cutting. Now you can break the sheets over a table edge, along the scored lines. Sand the edges of the breaks by hand using 120-grit sandpaper until smooth.
Use the same method to cut the 8 artificial glass sheets for the 4 windows. Use 2 plexiglass sheets measuring 2 x 500 x 1000 mm for each window, shortening them to 700 mm in length.

Mark the drill-hole locations on the plexiglass. Now use a 4 mm metal drill bit to drill holes in the plexiglass, then use the cordless screwdriver to screw it to the roof gable for your DIY raised bed cover. You should use 16 of the 3 x 16 mm pan head screws for each gable window.

The four windows of the raised bed cover should be screwed together on a flat surface. The upper crossbars of the windows are screwed to the three vertical battens using one 4.5 x 60 mm wood screw for each connection.

Place the plexiglass on the window frame and mark positions for the drill holes. You can now screw the plexiglass panes onto the window frame of your DIY raised bed cover using pan head screws. The drill holes for this step should also be pre-drilled. For each window, use 19 pan head screws measuring 3 x 16 mm.

Now use the cordless screwdriver to attach the lower crossbars to the plexiglass sheet of your DIY raised bed cover. These should be screwed on using one 4 x 40 mm wood screw at each connection.

Each roof window is fitted with two hinges, each of which is secured with six 3.5 x 16 mm screws. Attach hinges to each upper roof window crossbar, 10 cm from the edge. Remember to pre-drill the screw connections.

Screw together the roof ridge, made up of 2 wooden slats measuring 24 x 74 x 2000 mm, using five 4 x 40 mm screws. Distribute the screws evenly along the entire length.

Bring all the components to your raised bed and fix each gable end in place, attaching them to the two lengthwise base frame slats. The 4 x 60 mm screws should be used for this purpose.

Now place the screwed-together roof ridge across the gable ends and secure it with screws measuring 4 x 40 mm.

Position the folding windows on the finished frame and secure them with 3.5 x 16 mm screws. The windows must be installed with great precision to ensure they can be opened smoothly later on. Secure them to the roof gable via the hinges you attached in step 11; this is so they can easily be opened for ventilation and closed again.

All that remains is to attach the storm hooks. These prevent the windows from unintentionally blowing open in windy weather.

Your sturdy DIY raised bed cover is now ready for use and makes the perfect add-on to your raised bed. Your plants will thank you and you can look forward to fresh winter vegetables!

The helpers you need for a DIY raised bed cover
Important questions and answers
Plexiglass is particularly recommended for a self-built raised bed cover, because it is resilient, durable and translucent. Geotextile is a good option during seasonal transitions, but not for severe frost.
Weather-resistant native coniferous varieties such as pine, spruce, Douglas fir and larch are suitable for building a robust DIY raised bed cover. It is best to use planed and chamfered timber.
Ways to protect your raised bed from snails include, for example, attaching a copper strip around the edge or fitting a metal snail barrier. A self-built raised bed cover also provides effective protection. However, we advise against using slug and snail pellets, as these can harm the environment and other garden organisms.
A raised bed should be covered in such a way that it is protected from precipitation – for example with leaves, geotextile, twinwall polycarbonate panels, wood chippings or a self-built plexiglass roof.
Your raised bed should be covered during the winter months – November to February. A raised bed cover is indispensable in winter, particularly overnight, though you can still regularly ventilate your bed during the day, when temperatures are milder.

/catalogue/stihl-catalogue-2019-(master)/cutting-attachments/6250c0016350403c865730b8d47596d9.jpg)
