How to make a DIY wooden star
Homemade keepsakes and decorations are a special way of spreading joy. Find out how to make a wooden star that is sure to delight.
07.05.2025

How to make a wooden star: preparation
Protective equipment: designed to keep you safe
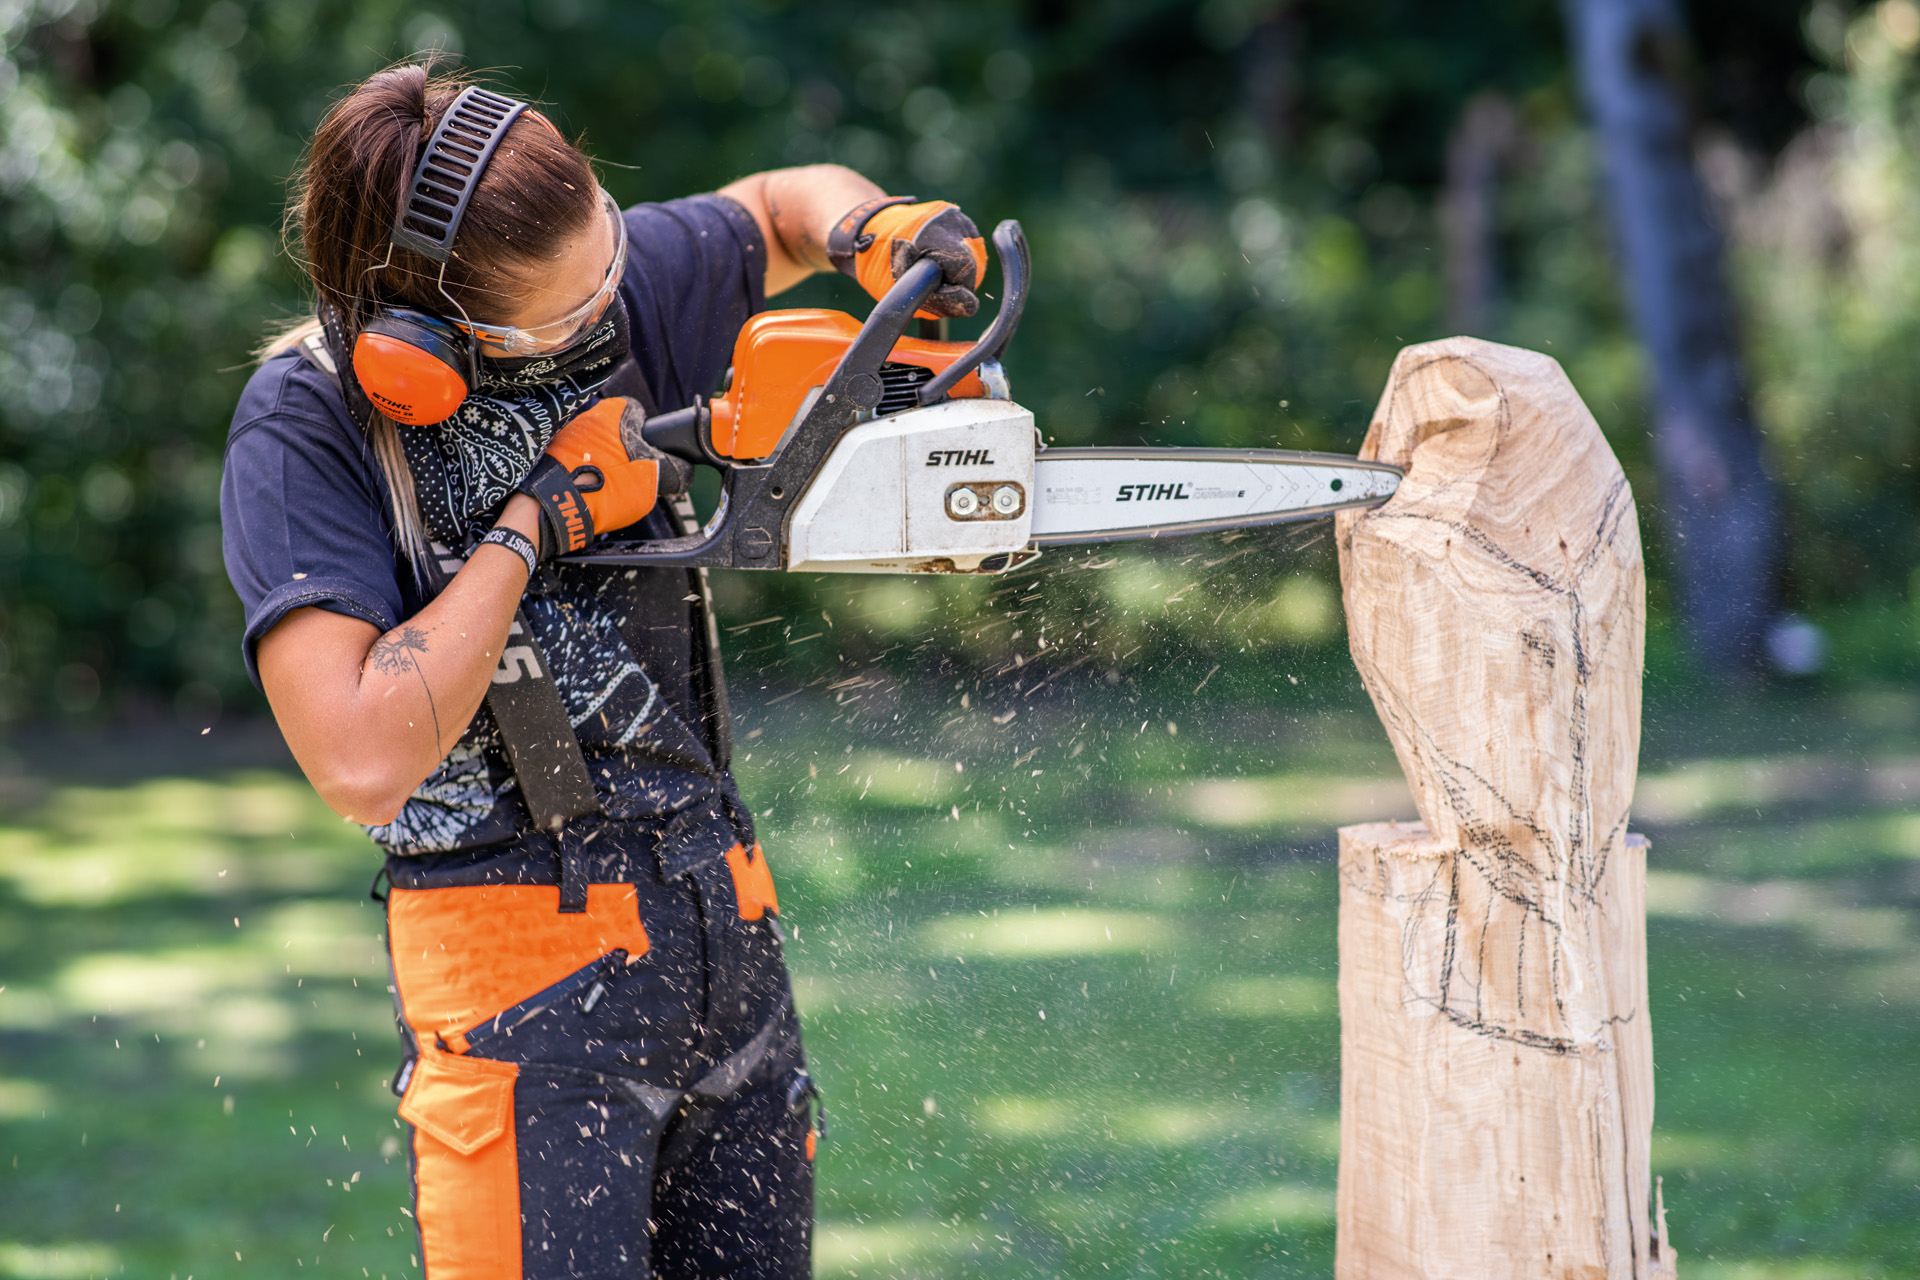
Using powerful tools in your DIY projects is fun and means you can extend your abilities, which is great as long as you are relying on effective and safe protective clothing while using them. Always wear personal protective equipment when working with your chainsaw.
This includes a helmet, cut protection trousers, safety boots, and more. The operating manual for your product contains more details. Fully familiarise yourself with the tool before you use your chainsaw for the first time, and check it is in flawless condition before each use. On request, your STIHL dealer will be happy to prepare your tool for its first use, and will also advise you on models and sizes of protective clothing that you can try at your leisure. Please remember that personal protective equipment is no substitute for safe working techniques.
Full DIY power

Chainsaws
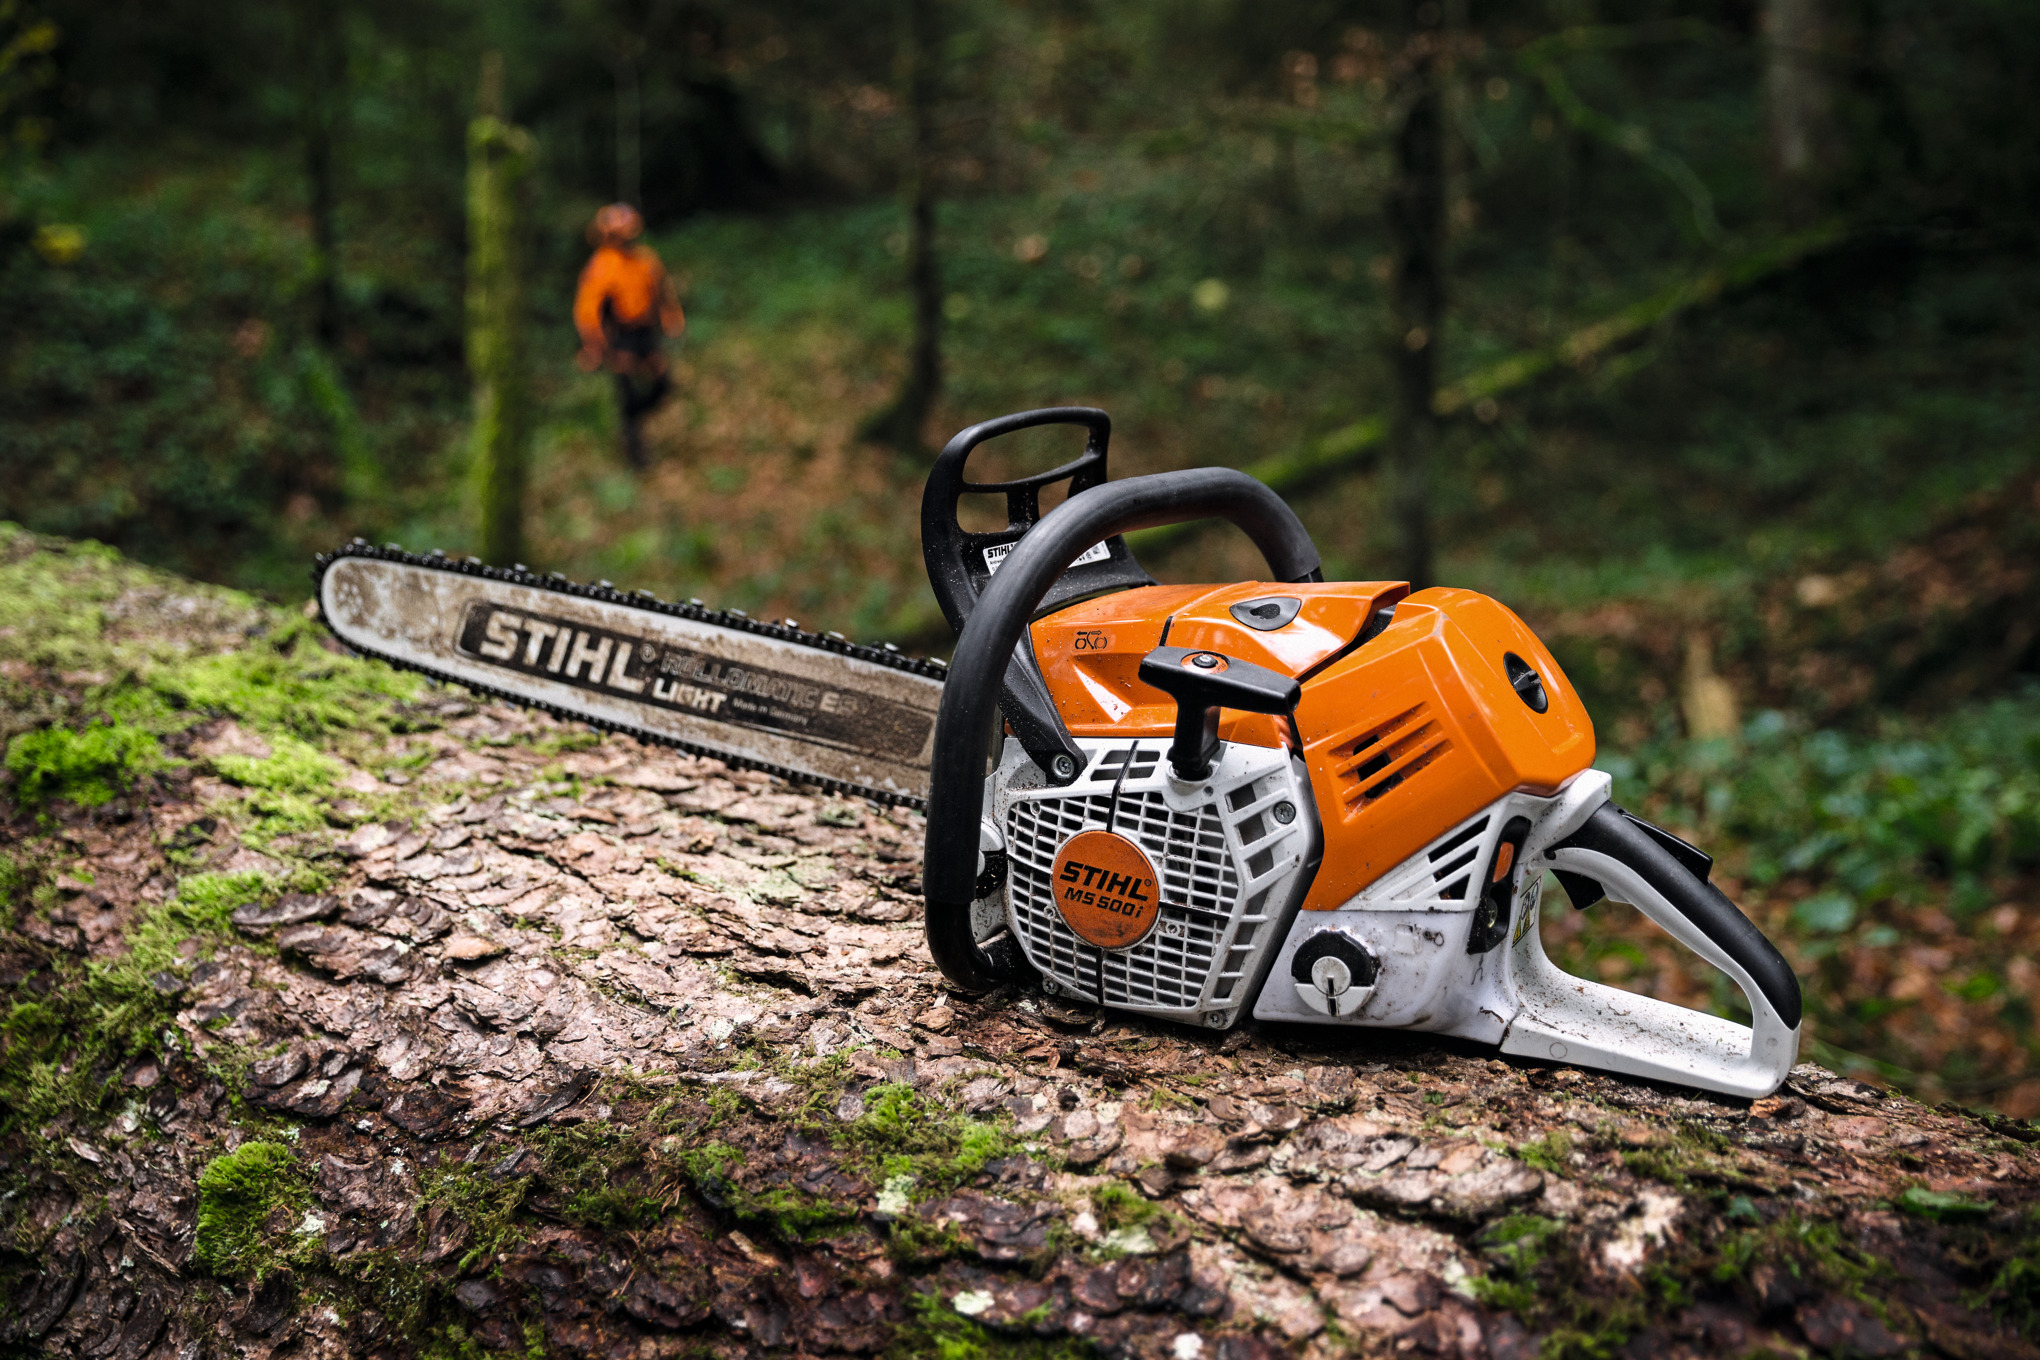
If you want to do intricate work with wood, a STIHL chainsaw is the best tool for the job. We recommend using saws that feature low vibration and kickback levels. Our lightweight chainsaws from the mid-range power class with a STIHL Rollomatic bar are ideal.
How to make a wooden star: materials
Wood for the star
- A log, approximately 30 to 40 cm in diameter (birch, lime and pine are good for beginners; maple or cherry for experienced carvers)
Tools
- Sawhorse
- Tensioning belt
- STIHL chainsaw
- Chalk for marking
- Metre rule or wooden slat as a straight edge
- Paper or cardboard star template

Make a wooden star: step-by-step instructions
With all your tools and materials together, you can start work on your wooden decoration. Our instructions are for a chunky rustic star ornament – and the method means it easy to make a few at once too. Check your working area is safe: you should have plenty of space to work in, there should be no trip hazards or other risks, and people and animals should be out of the area.

Step 1: fix and mark your log
- Fix the wooden log onto a sawhorse with a tensioning belt.
- Position your star template at the centre of the end face of the log.
- Use chalk to draw around the star template
- If you want to make a star that uses the whole diameter of your log but have a template that is too small, you can use the template to mark the five points on the outer edge of the log; then use a ruler to draw in the star itself.

Step 2: create the star shape
You need to use your chainsaw to cut into the wood and make it into a star shape.
- Starting with your chainsaw against the bark, saw diagonally down into the wood along two lines, to create the top point of your star; stop cutting when you reach the next marked line.
- Try to keep the bar as level as possible so that you don’t make too deep a cut with the bar nose and saw into the next point.
- Turn the log so the next point is pointing upwards and make two cuts as before.
- Repeat until you have sawn out all the pre-drawn lines and you can see the wooden star shape is ready.
- You need to make some extra cuts further down the log and straight into it so you can remove the excess wood. Take care when you do this, as you don’t want to cut the star off the main log yet.

Step 3: slice off your star
Once you’ve made the basic shape, you can simply take a slice from your star log, of whatever thickness you want your wooden star to be. At this stage it’s easy to make several stars at once.

Step 4: finish and care
We recommend treating your DIY wooden star appropriately so that it is protected and looks beautiful for a long time to come.
- If the wood is dry and the ornament is intended for indoor use, you can leave the surface unfinished if you like.
- If the wood is semi-dry, it’s best to treat it with an interior varnish that is suitable for use on toys (e.g. beeswax varnish).
- If you want to use your star outdoors, make it weather-resistant with a suitable wax or wood sealer.

Wooden star on a stick
An alternative option is to attach a metal stick to your finished wooden star. This makes your handiwork into an ideal ornament for sticking into flower pots, beds or the lawn.
Tools and materials for mounting your wooden star on a stick
- Metal stick (e.g. made from iron, diameter approx. 9.6-9.8 mm)
- Wood drill bit (10 mm)
- Cordless screw driver
- Hacksaw
Attach WOODEN star to the metal stick
- Using a wood drill bit, drill a hole in the bottom of the star. The hole should match the diameter of the metal stick.
- Cut the metal stick to your preferred length using a hacksaw.
- Push the wooden star onto the stick
Your DIY wooden star on a stick is finished. If you want to make several stars, mounting them on sticks of different lengths creates an appealing display.
Summary: How to make a DIY wooden star
- Coniferous woods such as birch, lime and pine, are ideal choices for chainsaw carving beginners
- Experienced amateur carvers can also use harder woods like maple or cherry
- Always wear personal protective equipment when working with your chainsaw. You can find details in the operating instructions for your tool.
- Draw the star on the wood and carefully cut it out one point at time, turning the log for each point and making long cuts
- With this method you can make several stars from one piece
- Treat the wood with an interior varnish like beeswax, or use a wood sealer if the decoration is intended for outdoor use
- An alternative option is to attach your wooden star to a metal stick. This makes a great upright decoration for flower pots, beds and lawns.


