Build your own DIY robotic mower garage
We will explain step-by-step how you can build your own robotic mower garage for your iMOW®.
11.06.2025

Build your own DIY robot mower garage: a home for the ¡MOW®
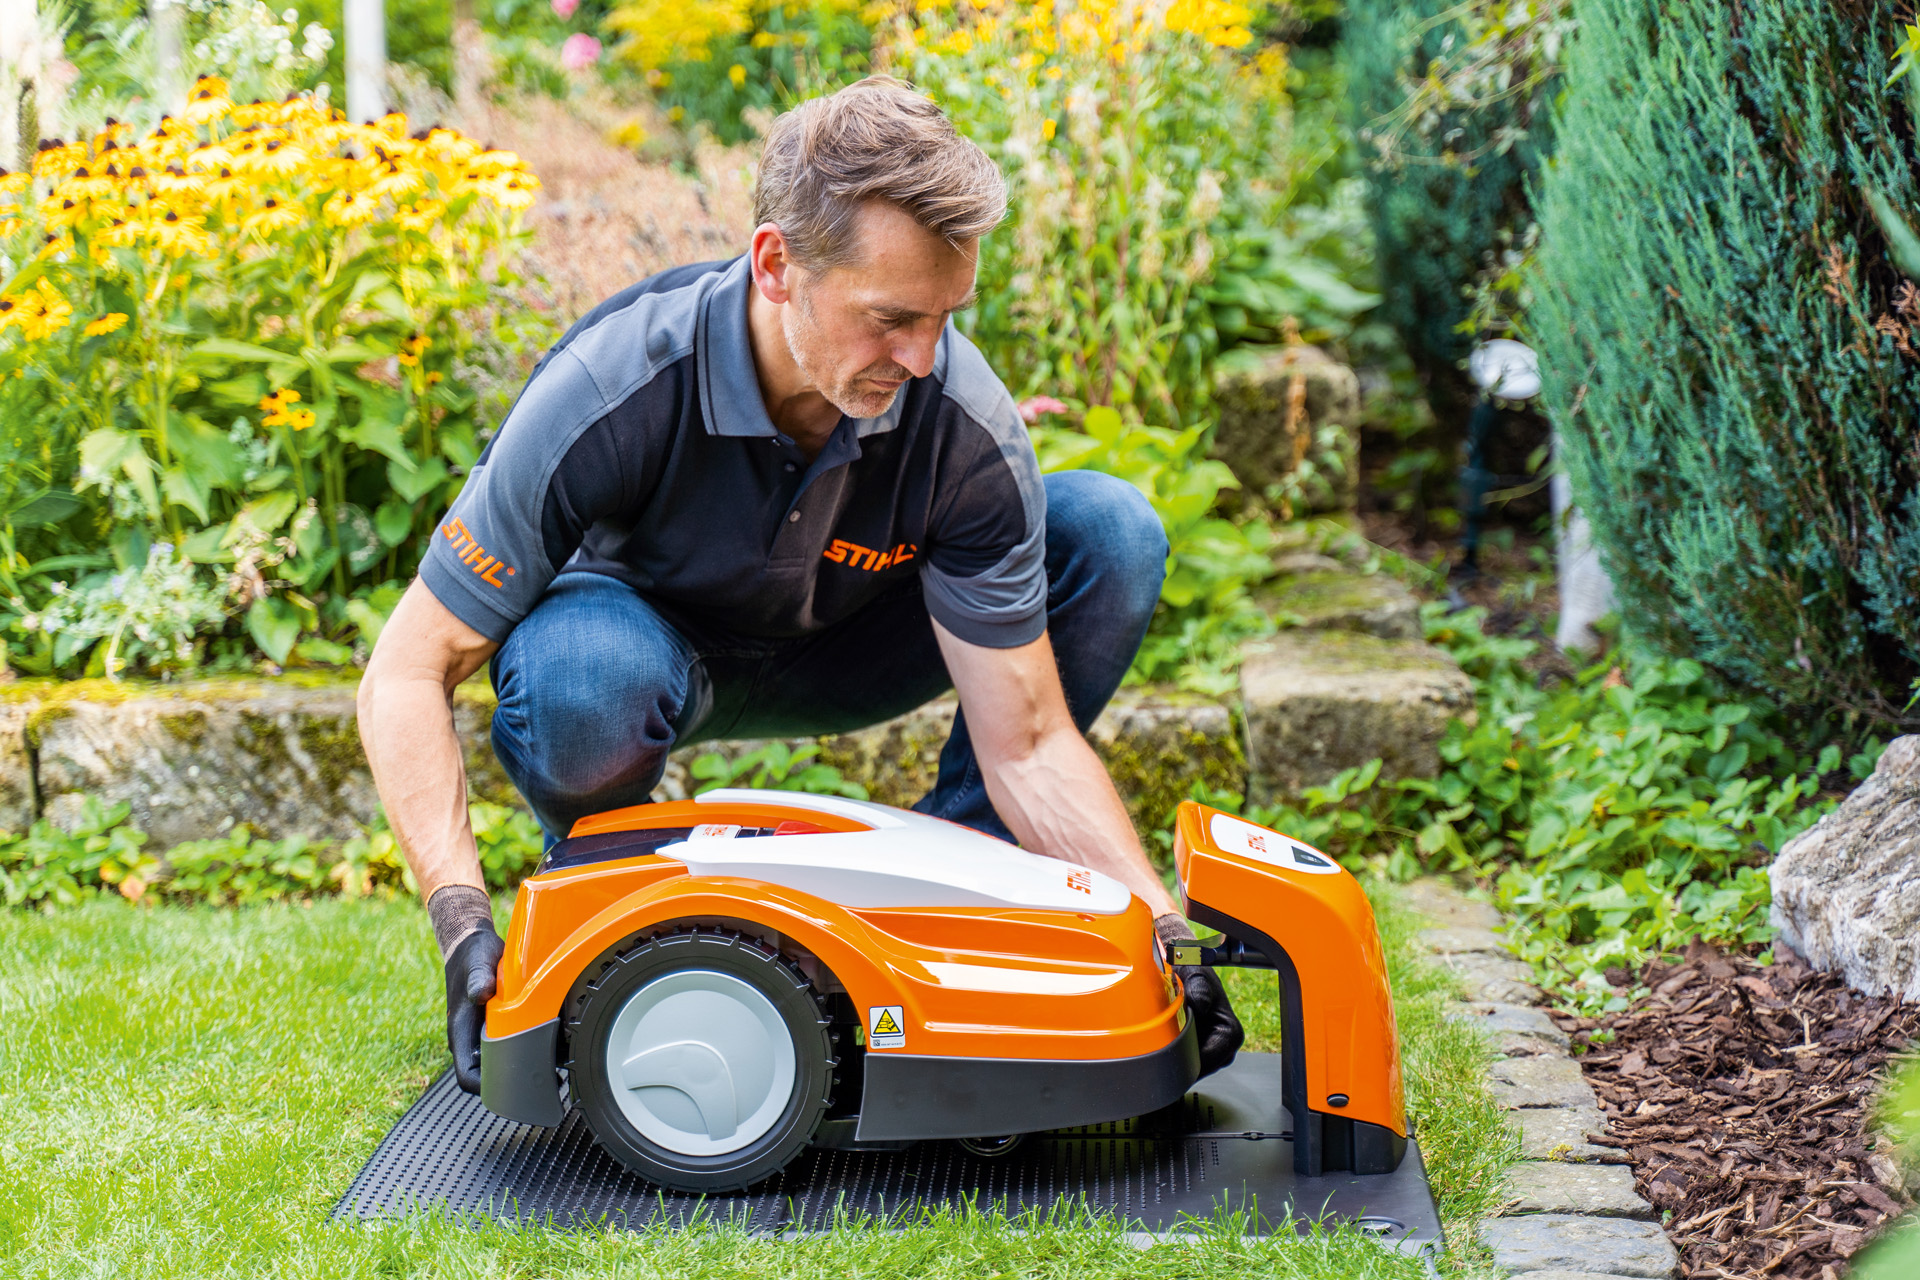
Do you own an iMOW® from STIHL that you would like to protect from rain, hail and UV radiation when it is not in use? Then a DIY robotic mower garage is the ideal solution.
We have prepared a building plan for you that is a perfect match for the dimensions of the iMOW®. The robot mower garage, which you can build yourself by following our instructions, not only shields your iMOW® from potentially harmful environmental factors, but also protects your robot mower’s charging terminals. This further prolongs the service life of your iMOW®. You see, there are good reasons to build a DIY iMOW® garage from wood.

The ideal location for the lawn mower garage

Build your own robotic mower garage: Preparation
To prepare, start by doing a thorough job of mowing the area of lawn where you want to set up the garage for your robotic mower. You should also pause your iMOW® by pressing the Stop button and activating the device lock in the menu.
Disconnect the charging station from the power supply, open the docking station storage cover, and remove the perimeter wires for the iMOW® in accordance with the operating instructions.
Then prepare all the equipment and materials you need to build your own DIY robot mower garage.

60 mm x 60 mm square timbers for posts, 2.5 m
Construction timber 50 mm x 30 mm for the frame, around 7.5 m
Construction timber 44 mm x 22 mm for the board brackets on the back panel, around 3.5 m
70 mm x 12 mm boards for the back panel and storage compartment, around 7 m. Dimensions: Boards on inner panel 740 mm x 70 mm x 12 mm; outer/back panel 608 mm x 70 mm x 12 mm
Remaining wood for the 30 cm spacer and for securing the posts
18 mm plywood/multiplex for roof, floor and doors of the storage compartment, cut to size in the DIY store. Door: 260 mm x 250 mm x 278 mm x 175 mm; floor 740 mm x 309 mm, two 60 mm cut-outs. One side is 620 mm long and the two sides 249 mm long. Roof: 740 mm x 333 mm, 60 mm lengthwise cut-out and 62 mm crosswise due to the chamfer. Width is therefore 271 mm x 620 mm
1 cm metal rod with slightly pointed end as support, 95 cm long. The metal rod is attached to the frame with a 4 x 40 mm screw and is inserted into a washer which provides a bit of distance from the wood.
15 mm OSB board, cut to size, 1150 mm x 820 mm
Roofing felt, 1150 mm x 820 mm
Wood screws 4 x 70 mm (approximately 40 of them for the frame), 4 x 35 mm (approximately 60 of them for the back panel boards), 3 x 16 mm (plastic edges of the roof and toggle latch)
2 x 10 cm hinges for the roof including 3 x 16 mm and 4 x 45 mm wood screws
Four smaller hinges (50 mm) for the doors of the storage compartment including 3 x 16 mm wood screws
Stainless steel toggle latch, 74 mm long for the cover
20 mm x 25 mm PVC rectangular bracket, around 2.5 m
- GTA 26
- Cordless screwdriver
- Spade
- Sliding bevel (tool for measuring angles)
- Spirit level
- Manual earth auger
- Metal saw
- 4 mm metal drill bit for retainer rod
Working with powerful equipment is fun and lets you rise above yourself. It is good if you can rely on effective and safe protective clothing. Always wear your personal protective equipment when working with the pruner. This includes protective goggles, gloves and more. For details, refer to the owners manual for your product. Familiarise yourself thoroughly with your tool before using it for the first time and ensure that your tool is in perfect condition before each use. On request, your STIHL dealer will prepare each machine for its first use and advise you on models and sizes of protective clothing that you can try on at your leisure. Please remember that personal protective equipment is no substitute for safe working technique.
Build your own robot mower garage: instructions
Ready to go? Then you can start to build your own robot lawn garage with our step-by-step instructions. It is designed in a similar way to a carport, with three open sides and a pitched roof that opens from above.
Caution: The roof of the garage is pitched at 15°, so the side posts must be at an angle at one end (mark the angle before cutting). The GTA 26 saws to a cutting width of around 5 mm. For a precise result, you should always cut slightly short of the marked line and then carefully saw downwards to the mark.

Screw the posts to the 30 mm x 50 mm crossbeams to make a frame for the back panel, creating a kind of “H”. The supporting structure for your robotic mower garage.

Now prepare the wood for the side panels. To do this, take the 50 mm x 30 mm construction timber and cut it to the following sizes:
1 x 740 mm (joined to the front side sections)
- 1 x 740 mm (joined to the front side sections)
- 2 x 1090 mm
- 2 x 1143 mm
- 2 x 96 mm
- 2 x 174 mm
Caution: The two small pieces are used later as side supports. At the top, they should also be chamfered to a 15° angle (from 96 to 82 mm and from 174 to 160 mm).

Now assemble the cut-to-size wooden panels into two flat triangles, which you then stabilise with the side support timbers. Make sure to pre-drill the screw holes here. Although this can be tedious, it makes it easier to insert the screws later and prevents the wood from splitting. The 4 x 70 mm wood screws are screwed in at a slight acute angle so that they disappear completely into the wood and do not protrude at the bottom.

Then drill two 60 cm deep holes in the ground using the manual earth auger. This is where the back panel of the mower shelter will stand later. The two holes should have a diameter of 10 to 15 cm and be around 70 cm apart.

Join the support posts to the crossbeam and place the side posts into the drilled holes. Now mix your concrete according to the instructions and pour it into the holes up to the brim. Use a spirit level to align the side posts. Then let the concrete dry for three days.

When the concrete has hardened, you can finish off the rear panel of the mower garage. To do this, first cut the wood to length:
8 pieces of 44 mm x 22 mm construction timber for the back panel brackets on the posts
8 pieces of 70 mm x 12 mm construction timber (each 61 cm long) for the back panel

First screw the vertical fixing strips for the back panels to the posts with the 4 x 70 mm screws and then the longer boards (preferably spaced around 6 mm – about a pencil width – apart so that the back panel does not appear too solid). The latter should be done using 4 x 35 mm screws.

Now join both pre-assembled side panels to the posts using the 4 x 70 mm screws.


Summary: Build your own robot mower garage
- A DIY robotic mower garage protects the iMOW® from rain, hail and UV radiation and can therefore extend the mower’s service life.
- Follow our instructions to build your own robotic mower garage the easy way.
- When working, always wear your personal protective equipment in accordance with the owners manuals.
- The robotic mower garage is solid and sturdy, and also features a storage compartment where, for example, accessories can be stored.
It is best to put your DIY robot mower garage in an area that is easy for your robot mower to enter and exit from, and away from areas such as car garage doors where there is large amounts of metal.
With the right tools and materials and our step-by-step instructions you can build the iMOW® garage without much difficulty at all.
Since your robotic mower garage will be outside in all types of weather, it is best to use pressure-treated lumber to prevent the wood from rotting and so it lasts for many years to come.


