Building DIY garden tool storage
Our instructions show you how to build a hanging garden tool storage rack
23.10.2025

Building an upright hanging garden POWER tool storage rack: Preparation

Make a home for spades, hoes, brushcutters, and many other tools with this practical storage rack. This wall tool storage solution enables you to hang up and take down tools with just one hand.
The length of the board and spacing between round dowels can be varied so you can decide for yourself how many garden power tools can be stored on your wall storage rack. The power tool rack incorporates no moving parts into its design and as such is extremely durable.
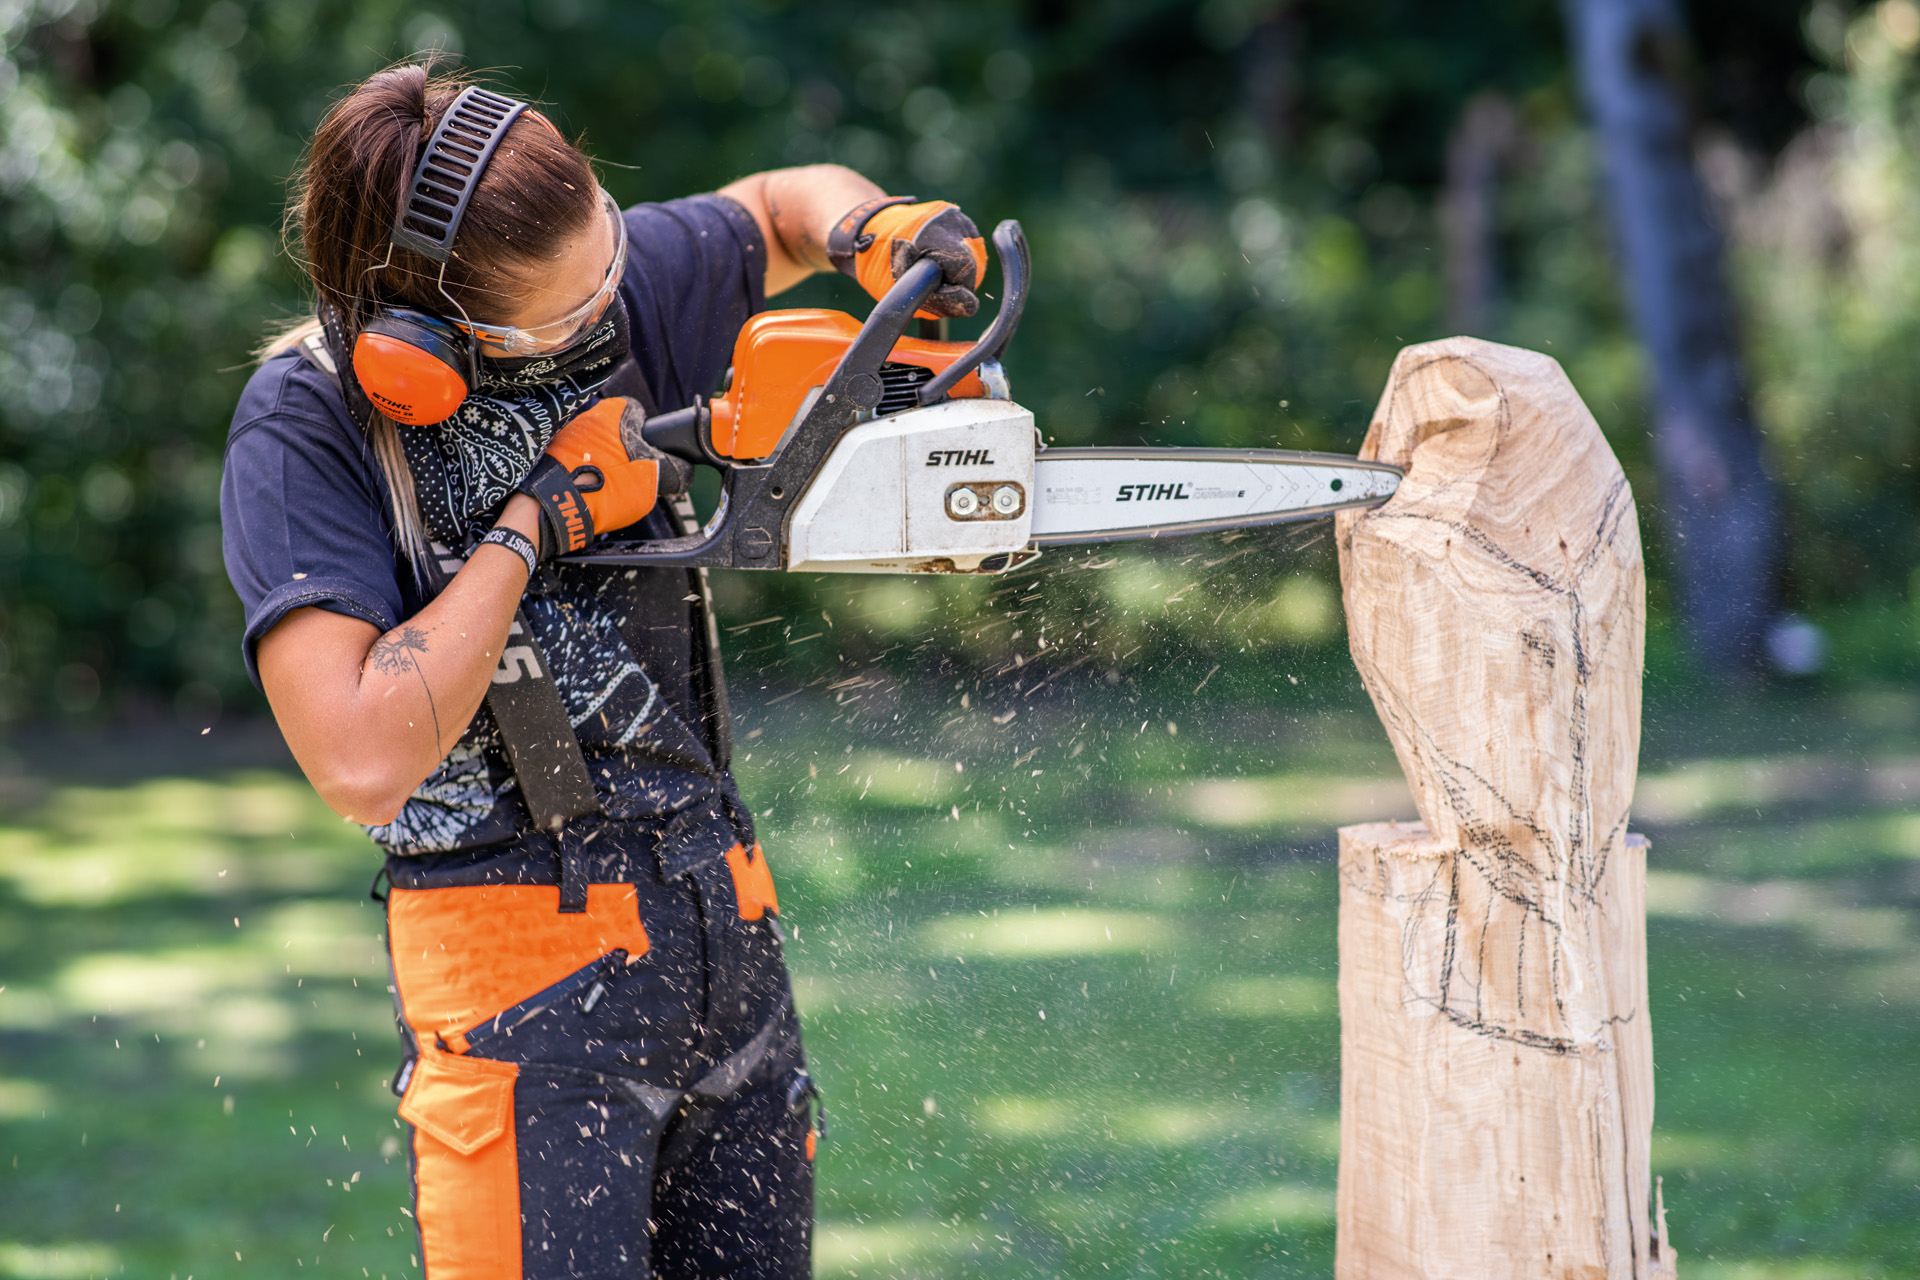
Working with high-performance power tools is fun and allows you to broaden your skills, which is great as long as you can rely on effective and safe protective clothing while using them. Always wear your personal protective equipment when working with your chainsaw. This includes helmets, cut protection trousers, safety boots and much more. For details, refer to your product owners manuals. Before using your power tool for the first time, fully familiarise yourself with it and ensure that it is in flawless condition before each use. On request, your STIHL dealer will be happy to prepare your power tool for its first job, and will also advise you on models and sizes of protective clothing that you can try on at your leisure. Please remember that personal protective equipment is no substitute for working safely.
Materials and tools
Very few materials are needed to make this DIY upright garden power tool storage rack. To make the board and wooden wedges, you can use offcuts from previous jobs.

Board (spruce), 22 x 220 x 2040 mm
2 wooden wedges, around 25 cm long, construction wedges or shims
18 round dowels (e.g. beech), 20 x 110 mm
Pieces of wood (for placing under the workpiece)
Cable ties
Drill/cordless screwdriver, with drill stand if required
20 mm wood drill bit
Hammer
Clamps (to secure the wooden board to the workbench)
Garden pruner, e.g. STIHL GTA 26 cordless garden pruner
Optional: 120-grit sandpaper
Upright hanging garden tool storage rack: Instructions
First mark the drill holes on the board. The centre of the holes should be 5 cm from the top and bottom edge of the board.
The spacing between the holes depends on the garden power tools that you want to hang up: spacing of 7 cm between the centre of the drilled holes (in other words, 5 cm between the dowels) is perfect for standard leaf rakes, spades and hoes. For very narrow tools a smaller gap will suffice, though you will then not be able to use the garden power tool storage rack for larger garden power tools later on.
If you want to hang up a hedge trimmer such as the STIHL HSA 26 cordless hedge trimmer, a gap of 14 cm between the drilled holes is ideal.

Now drill the holes. Make sure that you drill perpendicular to the workbench, so that the holes are at the right angle for functional garden power tool storage and the dowels can be inserted into the board at a 10° angle. If you are not used to drilling, you may want to use a drill stand to help you.

Bundle the round dowels together with cable ties and mark the cutting points. Clamp the dowels to the workbench. Using the garden pruner, saw the dowels to the required length, 11 cm in our example.

You can now sand the edges of the dowels or leave the cut edges as they are. Gently hammer the dowels into the board’s drilled holes; no need to glue them in as the dowels will hold by themselves.

Finished! You now have a DIY garden tool rack where you can hang up your power tools to save space.

Build a DIY horizontal garden power tool rack: Preparation

This DIY garden tool storage rack is ideal for heavy or long power tools: brushcutters, hedge trimmers and bamboo canes are securely held by recesses cut into two boards.
If your boards are not too long and if no more than three to four recesses are cut into the boards, you will have enough space below the DIY tool storage rack for a workbench or flat shelf to make perfect use of the space.
Materials and tools
The following materials are required to make this DIY power tool storage rack.

2 boards (spruce), 22 x 220 x 650 mm
2 wooden battens, 30 x 30 x 650 mm
Pieces of wood (for placing under the workpiece)
8 SPAX screws, 4 x 45 mm
4 dowels, 10 x 50 mm with matching screws (dowel thickness is based on the wall’s condition, may be larger for crumbly walls)
- 35 mm flat drill bit, alternatively use a sharp Forstner drill bit
- Clamps to secure the wooden board to the workbench
- Powerful cordless screwdriver
- Detail sander with 120-grit sandpaper
- Garden pruner, e.g. STIHL cordless garden pruner STIHL GTA 26
Horizontal garden power tool storage rack: Instructions
The first hole is 10 cm, the second 29.5 cm, and the third 49.5 cm from the short edge of the board.

Drill through the board at the marked positions with a flat drill bit. The marked points indicate the centre of each hole.

Draw lines to mark the recesses to be cut out onto the board. Start with the left and then the right-hand point of the holes. The line should be drawn at 35° from the left-hand point, and 15° from the right-hand point.

First score the board several times using the garden pruner, and then gradually cut deeper so that the chain does not get stuck in the wood and the cut doesn’t become skewed.
Use the finished board as a template for the second one and mark the recesses of the first board onto the second board. Now drill and saw the recesses on the second board.

Sand the corners and edges of both boards with a sander so that there are no sharp edges on your garden power tool storage rack. When sanding, remember to wear safety glasses and a face mask.

Finally, use screws to fasten the boards onto the side of the battens; the boards in our example are 146 cm apart.
Finished! Your DIY garden power tool storage rack is finished and ready to use!

Tips: Which garden tools and power tools should be hung up on the wall?
It is not practical to hang up every garden tool you own. Small tools such as manual hedge trimmers or hand cultivators and trowels are best stored on a shelf, and will not be damaged if you clean them thoroughly before storage.
Spades, hoes, brooms and other large garden tools should be hung on the wall for two reasons: if they stand or lie on the floor, they often get in the way and may become damaged as a result, which will shorten their life as helpful gardening accessories.
Technical garden power tools such as brushcutters or hedge trimmers are ideal for DIY power tool storage that is on the wall. Sharp blades and sensitive cables can be kept out of the way, while the garden power tools remain within easy reach.
Our guide explains what else to consider about using wall storage when storing brushcutters.
Garden power tools should be hung either upright or horizontally; they should not touch the ground and must be kept out of reach of children and pets. Tools should be kept within easy reach so that they can be quickly removed and replaced with one hand.
Build DIY lawn mower storage: Preparation

Lawn mowers take up a lot of room in a garage or shed. The space soon fills up if you add a scarifier, collection box and other accessories.
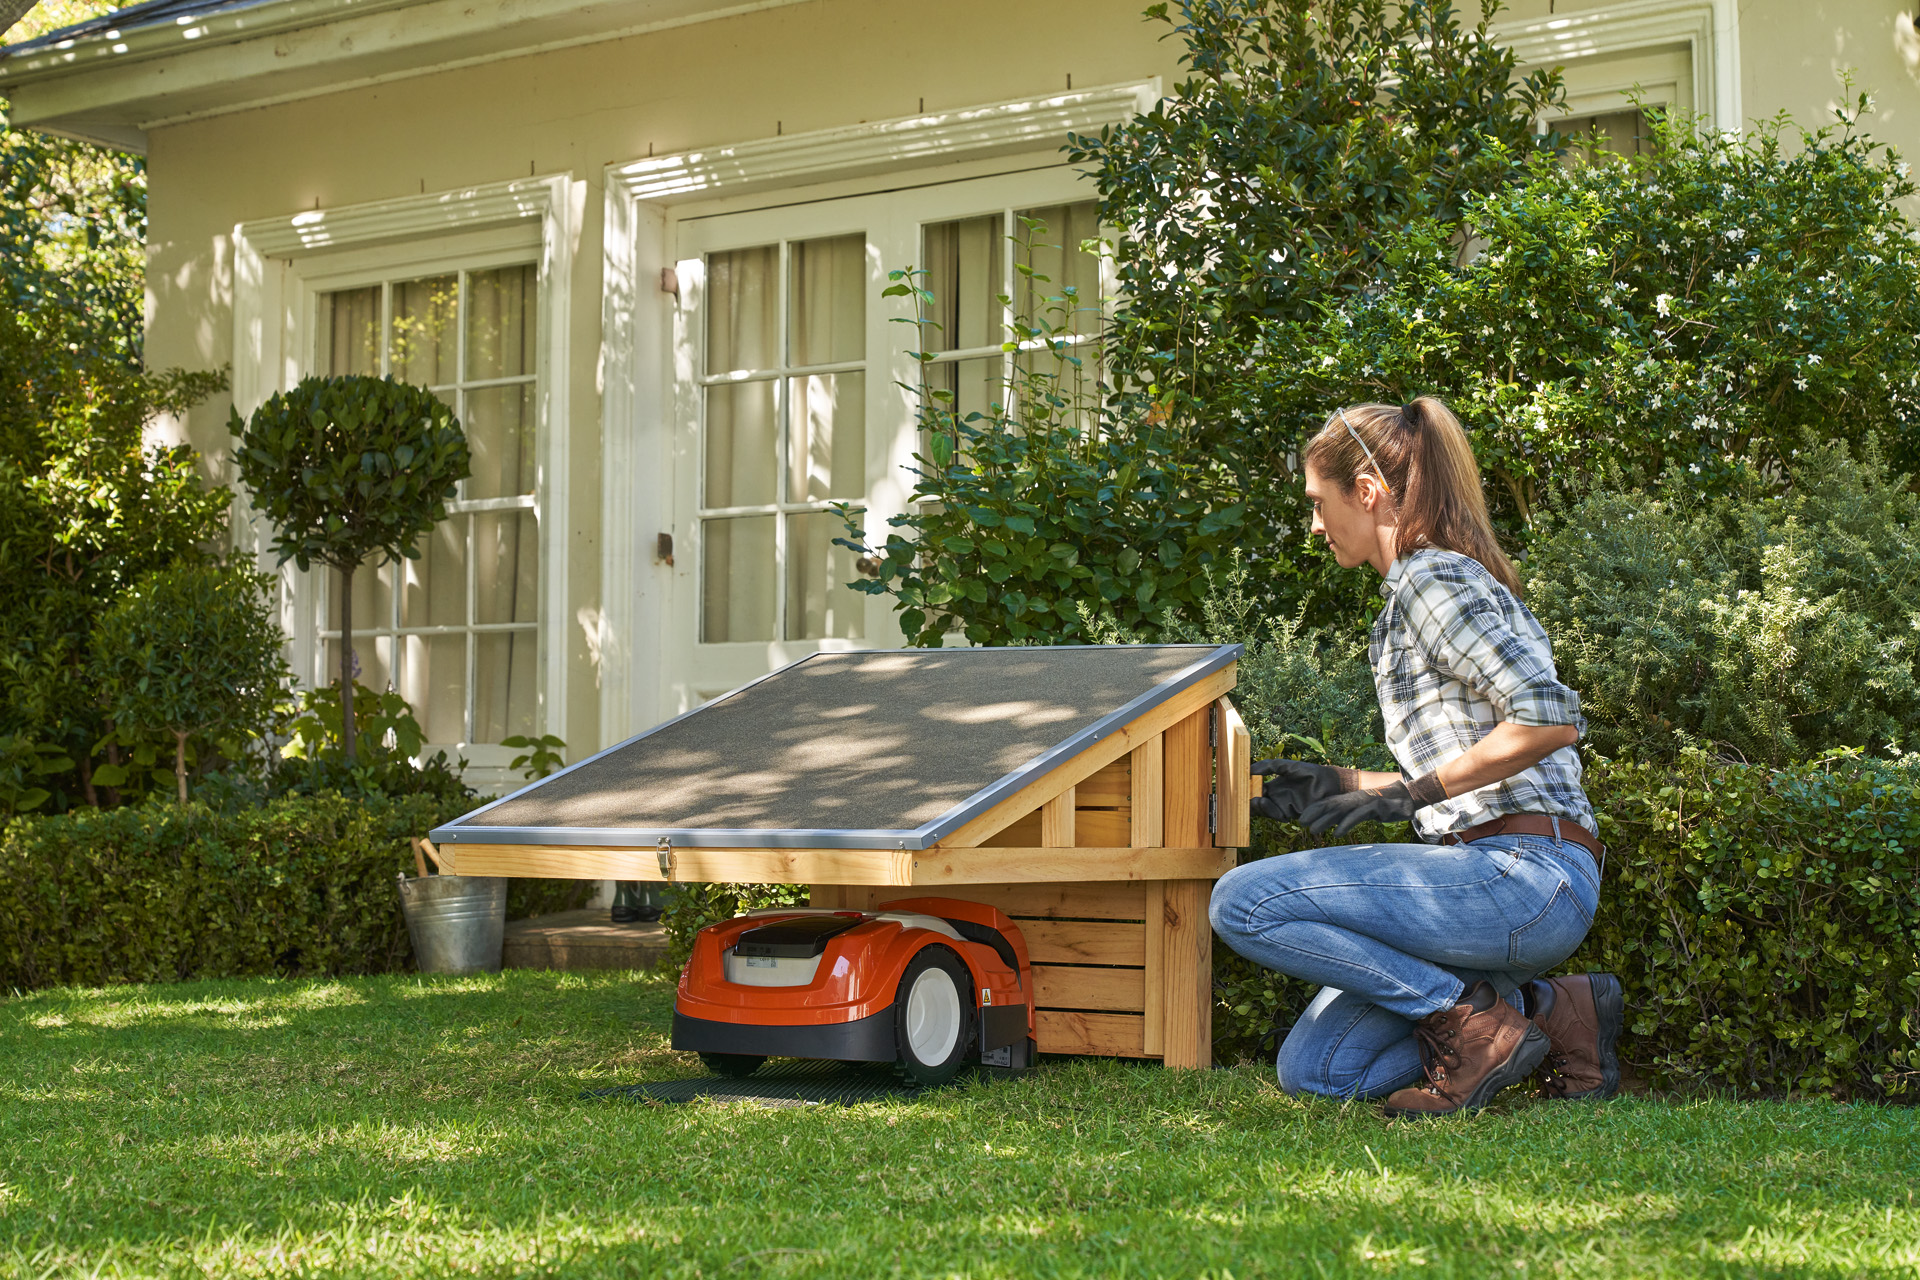
Our practical DIY lawn mower storage box provides storage for all these tools and makes efficient use of the available space. It is an easy way to store lawn mowers and accessories and still have enough space left in the garage.
Thanks to gaps between the panels, garden power tools can also dry out easily in the lawn mower storage box after use on wet grass, and once you have winter-proofed your lawn mower, it can also be kept in the storage box through the winter.
Materials and tools
The following materials and tools are required to make your DIY lawn mower storage box.

Boards for the double box
50 mm x 50 mm, total length 5.2 m
50 mm x 30 mm, total length 6.4 m (2 x 680 mm; 4 x 950 mm; 2 x 580 mm)
44 mm x 22 mm, total length 7.4 m (6 x 546 mm; 6 x 709 mm)
69 mm x 12 mm (32 x 950 mm; 16 x 580 mm)
15 mm OSB (2 pieces measuring 1050 mm x 680 mm, one with 50 mm x 50 mm cut-outs at each corner)
527 mm offcuts (spacers for the slide rail)
Drawer made from 18 mm thickness plywood:
2 x front and back panel 10 mm x 505 mm
2 x side panel 600 mm x 10 mm
1 x inner panel 564 mm x 10 mm
Base board 576 mm x 700 mm
22 mm pine board (drawer front): 580 mm x 199 mm
Drawer handle with appropriate screws
Slide rail for drawer:
2 pieces measuring 67 mm x 16 mm x 950 mm
4 pieces measuring 16 mm x 10 mm x 994 mm (drawer slide)
2 stoppers for drawer:
2 x offcuts measuring 30 mm x 9 mm x 110 mm
2 pieces measuring 80 mm x 35 mm x 30 mm
Screws:
around 30: 5 mm x 70 mm chipboard screws
around 118: 4 mm x 30 mm chipboard screws
4: 4.5 mm x 50 mm chipboard screws
- Garden pruner, e.g. clean STIHL FS 38 carburettor
- clean STIHL FS 55 carburettor
- Chainsaw, e.g. STIHL MSA 140 C-B cordless chainsaw
- Cordless screwdriver
- 4 mm wood drill bit
- Workbench
Lawn mower storage box: Instructions
First cut all the wood for your lawn mower storage box to the required size. Make sure that all workpieces are securely clamped onto the workbench. Then pre-drill the screw holes; this makes it easier to screw wood together later and prevents the wood from splitting.
One batten is attached to the front uprights and two onto both of the back uprights at 90°. These act as brackets for the back panel and side panels. Use a side-wall panel offcut as a spacer for the battens, so that they lie in the middle of the uprights.

Screw the first cross beam on the workbench between the uprights to create an H-shape. Then assemble the base frame by screwing the remaining cross beams between the uprights.
If you are building your DIY lawn mower storage box alone, support the beams by placing shims under them.

Now put in place the OSB board with the cut-outs at the corners to become a raised base. The board is not joined to the cross beams but is supported by them.

Now assemble the roof frame of your lawn mower storage box from the remaining 50 mm x 30 mm beams. The two 950 mm timbers again form the side cross beams, with the two 680 mm timbers at the front and back. The frame is additionally supported by the previously mounted bracket.

The 32 boards with a length of 950 mm form the side panels, and the 16 boards with a length of 580 mm form the back panel.
Use, for example, a normal ballpoint pen to help maintain the 9-millimetre-wide gaps between the individual boards of your lawn mower storage box.

Assemble the drawer using the prepared sections of plywood for the front and back panel, side panels and inner panel, and mount these to the base board using 4 x 30 mm screws.

Attach the drawer handle to the pine board, and then fasten the pine board onto the front of the drawer as the visible face. Mount the board from inside so that no screws are visible on the outside of your lawn mower storage box.

Now attach the two slide rails 527 mm above the lower OSB board. Ideally, you should use a piece of scrap wood cut to the right length as a spacer.

You can now slide the drawer into the slide rails. Mount the two 30 mm x 9 mm x 110 mm offcuts and the two 80 mm x 35 mm x 30 mm timbers on the back of the drawer as stoppers. Stoppers prevent the drawer from accidentally sliding out completely.

Finally, mount the remaining OSB board using several 4 x 30 mm screws to make the roof.
Finished! Your lawn mower storage box is now finished. You can now store your lawn mower, scarifier, batteries, and other accessories in a compact space. The roof is also sturdy enough to hold a few more work tools.

Equipment needed to build a DIY power tool storage rack
Summary
- Save space with a garden power tool storage solution, and protect people and tools against damage
- Wooden power tool storage racks are easy to make
- Hang up large garden power tools in vertical or upright holders
- Keep lawn mowers in a storage box
- Keep small tools on shelves
- When working, always wear personal protective equipment according to the owners manuals
